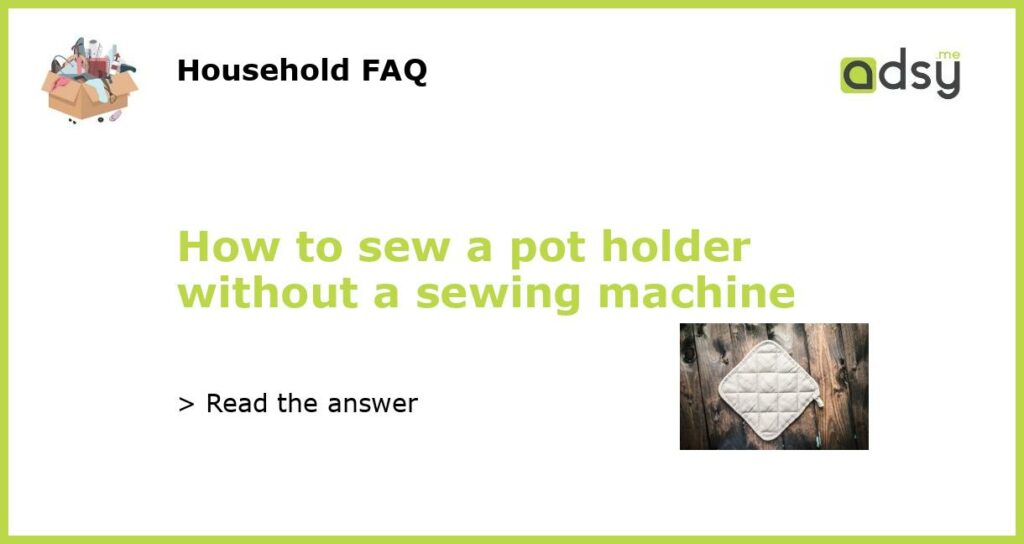
Gather your materials
Before you begin sewing your pot holder, make sure you have all the necessary materials. You will need:
- Fabric scraps: Choose a durable fabric that can withstand heat, such as cotton or linen.
- Insulated batting: This will provide heat resistance and insulation for your pot holder.
- Scissors: To cut the fabric and batting.
- Sewing needle: Opt for a needle that is suitable for hand sewing.
- Thread: Select a strong thread that matches the color of your fabric.
- Pins: To hold the fabric and batting in place.
- Ruler or measuring tape: To ensure accurate measurements.
Measure and cut your fabric and batting
Start by measuring and cutting your fabric and batting. You will need two squares of fabric and one square of batting. The size of the squares will depend on how big you want your pot holder to be. A standard size is around 8 inches by 8 inches, but feel free to adjust the measurements to your liking.
Using your ruler or measuring tape, mark the desired size on your fabric and batting. Use your scissors to carefully cut along the marked lines. Make sure your cuts are precise to ensure a clean and professional-looking pot holder.
Layer the fabric and batting
Take one square of fabric and place it right-side down on a flat surface. Next, place the square of batting on top of the fabric. Finally, top it off with the second square of fabric, right-side up.
Make sure all the edges of the fabric and batting are aligned. The fabric should completely cover the batting, with no exposed edges.
Secure the layers together by inserting pins along the edges. This will prevent them from shifting while you sew.
Sew the layers together
Thread your needle and tie a knot at the end of the thread. Starting at one corner of the layered squares, insert the needle through all layers, about 1/4 inch from the edge. Pull the thread through until the knot catches on the fabric.
Continue sewing along the edges, securing all three layers together. Use a simple running stitch or a backstitch for added strength. Make sure your stitches are evenly spaced and tight to ensure the layers stay together.
When you reach the starting point, tie a secure knot to secure the thread. Trim any excess thread.
Finish the pot holder
Once you have sewn all four sides of the layered squares, your pot holder is almost complete. Remove the pins and inspect the corners and edges to ensure all layers are securely sewn together.
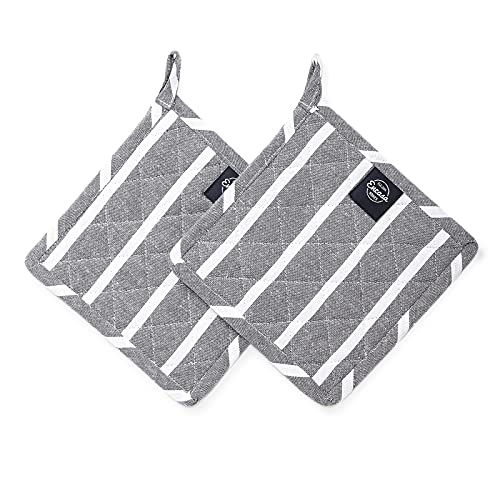
If desired, you can add a loop for hanging the pot holder. Cut a small strip of fabric and fold it in half lengthwise. Sew one end of the strip to one corner of the pot holder, making sure it is securely attached. This loop will allow you to hang the pot holder for easy storage.
Finally, give your pot holder a quick press with an iron to remove any wrinkles and give it a polished finish.
With these simple steps, you can create a functional and stylish pot holder without the need for a sewing machine. This project is perfect for beginners or anyone looking for a quick sewing project. Now you can confidently handle hot pots and pans in style!


