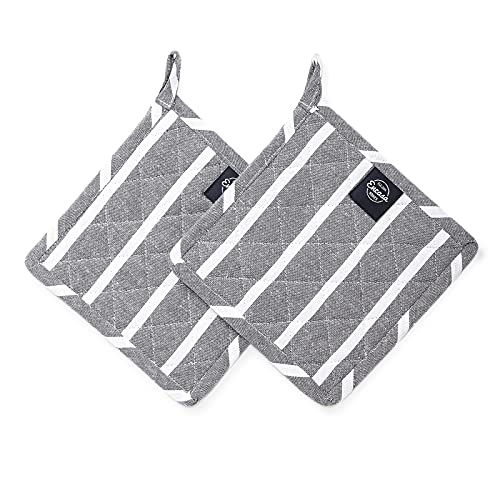
Why Use Insulating Batting for Pot Holders?
If you enjoy baking or cooking, you know how essential it is to have the right tools and equipment in your kitchen. One such tool is a pot holder, which protects your hands from burns when handling hot pots and pans. While traditional pot holders typically consist of layers of fabric, making a pot holder with insulating batting can offer additional benefits.
Insulating batting is a material made from specially designed fibers that provide a higher level of heat resistance compared to regular fabric. This added insulation helps to protect your hands from the intense heat of hot cookware, reducing the risk of burns or accidents in the kitchen. Additionally, insulating batting can also help to retain heat, keeping the bottoms of your pots and pans warm for longer periods, which is particularly useful when serving meals at the table.
Materials Needed
To make a pot holder with insulating batting, you will need a few materials:
- Insulating batting
- Quilting cotton fabric for the outer layer
- Cotton batting for the inner layer
- Coordinating thread
- Scissors
- Sewing machine or needle and thread
- Pins
- Ruler or measuring tape
- Iron
Step-by-Step Instructions
Follow these step-by-step instructions to make a pot holder with insulating batting:
- Measure and cut two 9-inch squares of both the quilting cotton fabric and the insulating batting. These will serve as the front and back layers of your pot holder.
- Measure and cut a 9-inch square of the cotton batting.
- Place the 9-inch square of cotton batting in between the two squares of quilting cotton fabric. Make sure that all the edges are aligned.
- Pin the layers together to secure them in place.
- Using a sewing machine or needle and thread, sew around the edges of the layered squares, leaving a small opening for turning the pot holder right side out.
- Turn the pot holder right side out through the opening, pushing out the corners gently with a blunt object such as a pencil eraser.
- Press the pot holder with a hot iron to flatten the seams and create crisp edges.
- Topstitch around the edges of the pot holder, closing the opening as you sew.
- Optional: You can add additional decorative stitching or embellishments as desired.
Tips for Using and Caring for Your Insulated Pot Holder
Once you have completed making your pot holder with insulating batting, it’s essential to use and care for it properly to ensure its longevity and effectiveness. Here are some tips:
- Avoid using the pot holder with insulating batting as a trivet. It is designed to protect your hands, not your countertop.
- Ensure that the pot holder is dry before using it. Wet or damp fabric can reduce its insulating properties.
- Always use caution when handling hot cookware, even when using an insulated pot holder. Remember, no material is entirely heatproof.
- Regularly clean the pot holder to remove any food particles or stains. Follow the manufacturer’s instructions for cleaning, or hand wash with mild detergent and air dry.
- Inspect the pot holder periodically for any signs of wear or damage. If the insulation starts to break down or the fabric becomes worn or frayed, replace the pot holder to maintain its safety and effectiveness.
Making a pot holder with insulating batting is a simple and practical way to add an extra layer of protection to your kitchen tools. By following the step-by-step instructions and using the right materials, you can create a pot holder that not only helps to prevent burns but also retains heat, making it a valuable asset in your kitchen. Remember to use and care for your insulated pot holder properly for long-lasting use and maximum safety.