Choosing the Right Pot Holder
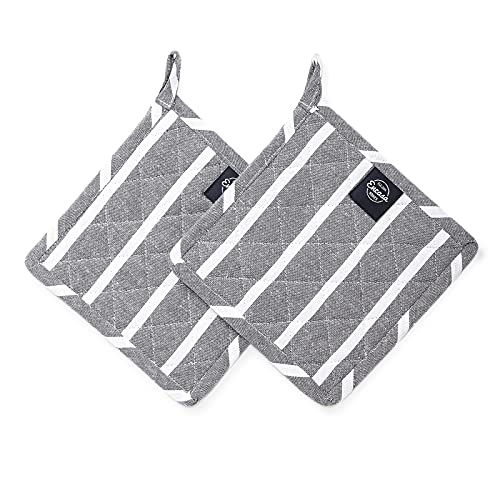
When it comes to customizing a pot holder with embroidery, the first step is to choose the right pot holder. There are many options available in the market, ranging from simple cotton pot holders to more durable silicone ones. Consider the material, size, and shape of the pot holder according to your preference and needs.
For beginners, it is recommended to start with a cotton pot holder as it is easier to work with and provides a smooth surface for embroidery. Silicone pot holders, on the other hand, are more heat-resistant and can withstand higher temperatures. Choose a pot holder that suits your embroidery design and the purpose of use.
Gathering the Embroidery Supplies
Before you start customizing your pot holder with embroidery, gather all the necessary supplies. Here are the basic embroidery supplies you will need:
- Embroidery thread
- Embroidery needle
- Embroidery hoop
- Scissors
- Transfer pen or pencil
- Thimble (optional)
You can find these supplies at your local craft stores or online. Choose embroidery thread colors that complement your pot holder and desired design. Consider using a transfer pen or pencil to lightly sketch your design on the pot holder before embroidering.
Designing and Transferring the Embroidery Pattern
Once you have gathered all the supplies, it’s time to design and transfer the embroidery pattern onto your pot holder. You can either create your own design or search for embroidery patterns online. There are many websites and blogs that offer free embroidery patterns for various projects.
If you have chosen a transfer pen or pencil, trace your design onto the pot holder. Be careful not to press too hard to avoid leaving permanent marks. Alternatively, you can use a temporary marking pen that disappears with heat or water.
Embroidering the Pot Holder
Now comes the fun part – embroidering the pot holder! Start by threading your embroidery needle with the desired color of embroidery thread. Tie a small knot at the end of the thread to secure it.
Place your pot holder on an embroidery hoop to keep the fabric taut and prevent it from moving while you embroider. Begin stitching your design following the traced pattern or your own creativity. There are various embroidery stitches you can use, such as backstitch, satin stitch, or French knot, depending on the design and effect you want to achieve.
Take your time and work on each stitch carefully to ensure neat and consistent embroidery. You may find it helpful to use a thimble to protect your fingers while pushing the needle through the pot holder fabric.
Finishing Touches and Care Instructions
Once you have finished embroidering your pot holder, it’s time to add the finishing touches. Trim any excess thread and check for any loose ends or knots. Inspect your embroidery work and make any necessary adjustments or corrections.
If your pot holder’s fabric allows, you can also add decorative elements such as beads or sequins to enhance the design. Be creative and experiment with different techniques and materials.
Lastly, it is essential to follow proper care instructions for your embroidered pot holder. Some embroidery threads may be more delicate and require gentle washing or handwashing. Check the manufacturer’s recommendations and avoid using bleach or harsh detergents that can damage the embroidery.
By following these steps, you can customize a pot holder with embroidery and create a unique and personalized kitchen accessory. Let your creativity shine and enjoy the process of transforming a simple pot holder into a functional and beautiful piece.


