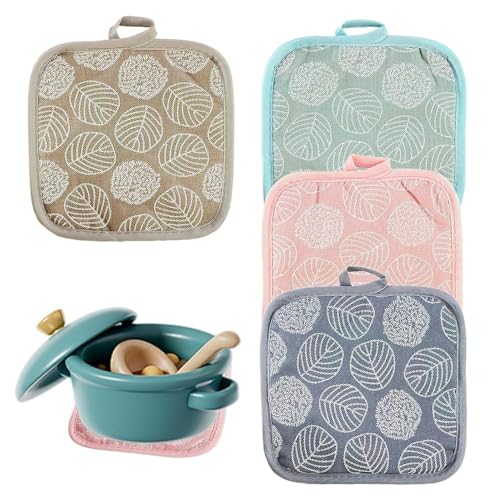
Assess the Damage to the Pot Holder
If you have a torn pot holder that is still salvageable, it’s important to assess the damage before attempting to repair it. Look for any frayed edges, holes, or weak spots in the fabric. If the tear is relatively small and has not compromised the overall integrity of the pot holder, it can likely be repaired.
Gather the Necessary Materials
Before you start repairing the torn pot holder, gather all the necessary materials to ensure a successful repair. You will need a sewing needle, thread that matches the color of the pot holder, scissors, and a thimble (optional but recommended to protect your fingers while sewing).
Prepare the Pot Holder for Repair
To prepare the pot holder for repair, start by trimming any frayed edges or loose threads around the tear. This will give you a clean surface to work with and prevent further unraveling. If the tear is located near the edge of the pot holder, fold the edges in and press them with an iron to create a neat seam.
Sew the Tear Closed
To sew the tear closed, thread the needle with the matching thread and tie a knot at the end. Start sewing from the backside of the pot holder, inserting the needle through the fabric just before the tear begins. Take small, even stitches along the tear, pulling the thread tight as you go. If the tear is long, you may need to make several stitches to secure it completely.
Reinforce the Repair
Once the tear is sewn closed, reinforce the repair to make it more durable. You can do this by sewing a second row of stitches parallel to the first one, or by adding a patch of fabric on the inside of the pot holder. Make sure the patch is slightly larger than the tear and sew it in place using small, tight stitches. This will provide extra strength and prevent the tear from reopening.


