Choosing the right materials
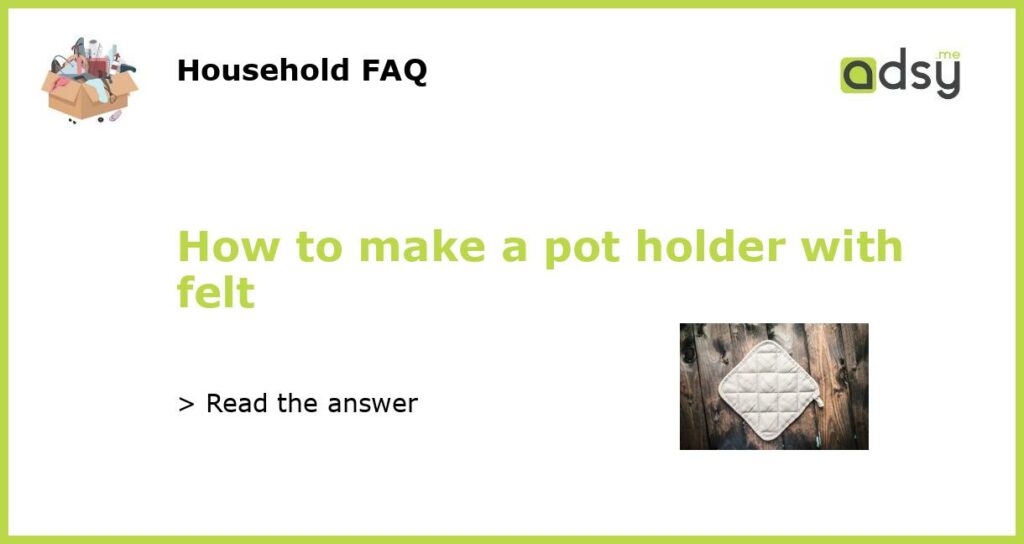
Making a pot holder with felt is a fun and easy craft project that anyone can do. Felt is a versatile and affordable material that comes in a wide range of colors and patterns, making it perfect for this type of project. Before you get started, you will need to gather the following materials:
- A piece of felt in the color of your choice
- A needle and thread
- Scissors
- A ruler
- Pencil or fabric marker
- Optional: embellishments like buttons or ribbon
Measuring and cutting the felt
Next, you will need to measure and cut the felt into the desired shape and size for your pot holder. You can choose to make a square, rectangle, or even a unique shape like a flower or animal. Using a ruler and a pencil or fabric marker, mark the measurements on the felt and then use the scissors to carefully cut along the lines. Remember to leave a little extra space around the edges to account for the seam allowance.
Sewing the pot holder
Now it’s time to sew the pot holder together. Start by folding the felt in half with the right sides facing each other. Using the needle and thread, sew along three sides of the pot holder, leaving one side open. You can choose to use a straight stitch or a decorative stitch for added flair. Make sure to backstitch at the beginning and end of each seam to secure the stitches.
Once you have sewn the three sides, turn the pot holder right side out. Use your fingers or a blunt object to gently push out the corners and flatten the seams. At this point, you can also choose to add any embellishments like buttons or ribbon. Simply sew them onto the front of the pot holder using a needle and thread.
Finishing touches
Finally, it’s time to add the finishing touches to your pot holder. Take the open side of the pot holder and fold the raw edges inward. Use the needle and thread to sew along the open edge, creating a clean and finished seam. Again, be sure to backstitch at the beginning and end of the seam to secure it.
Once you have finished sewing, take a moment to inspect your pot holder and make any necessary adjustments or repairs. Trim any excess thread and give it a final press with an iron to smooth out any wrinkles. Your pot holder is now ready to use!
Additional ideas and inspiration
Making a pot holder with felt is a great way to let your creativity shine. You can personalize it with your favorite colors, patterns, and embellishments. If you’re feeling adventurous, you can even experiment with different shapes and sizes to create a set of coordinating pot holders. Don’t be afraid to get creative and have fun with this project!
For more inspiration and ideas, you can visit websites like Pinterest or Craftsy where you can find tutorials, patterns, and tips from other crafters. Remember, the key to a successful pot holder is to have fun and enjoy the process of creating something unique and functional for your kitchen!


