Check compatibility and requirements
Before connecting a scanner to your computer, it is important to check the compatibility and requirements of both the scanner and your computer. Ensure that your computer has the necessary ports and cables to connect the scanner. Consult the user manual or manufacturer’s website of the scanner to determine the specific requirements and compatibility with your computer’s operating system.
Install scanner drivers
Once you have confirmed compatibility, you need to install the scanner drivers on your computer. These drivers allow the scanner and the computer to communicate effectively. Most scanners come with a driver CD that you can use for installation. Simply insert the CD into your computer and follow the on-screen instructions to install the drivers.
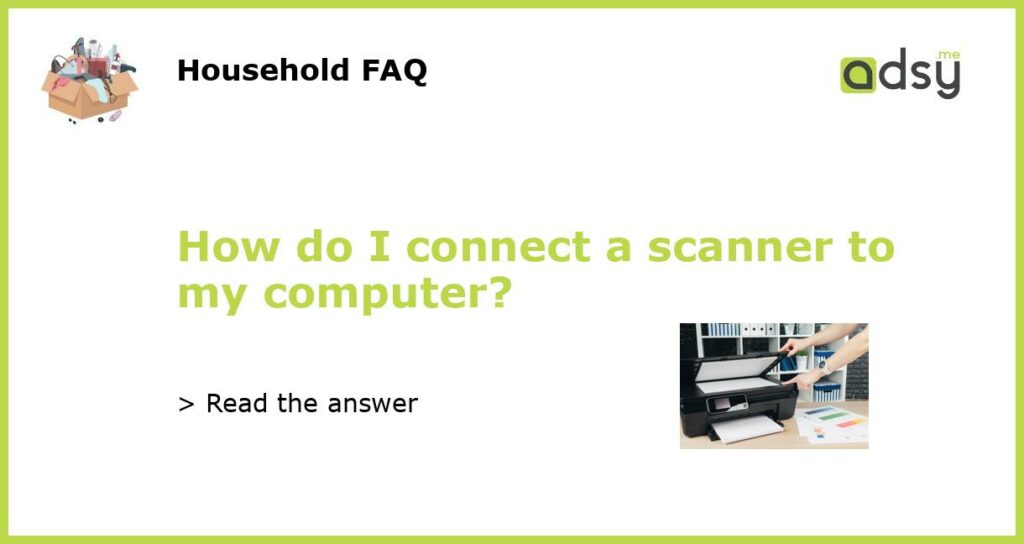
Connect scanner to computer
After the drivers are installed, you can proceed to connect the scanner to your computer. Depending on the type of scanner you have, you may need to use a USB cable or a specific port to connect the scanner. Locate the appropriate ports on both the scanner and your computer, and securely connect the cable.
Power on the scanner
Once the scanner is connected to your computer, you need to power it on. Most scanners have a power button or switch that you can use to turn on the device. Refer to the user manual or manufacturer’s instructions to find the power button and properly power on the scanner.
Test the scanner
Once the scanner is powered on and connected to your computer, it is important to test the scanner to ensure that it is functioning properly. Open the scanning software on your computer and try scanning a document or photo. If the scanner successfully scans the document and displays it on your computer, then the connecting process was successful.


