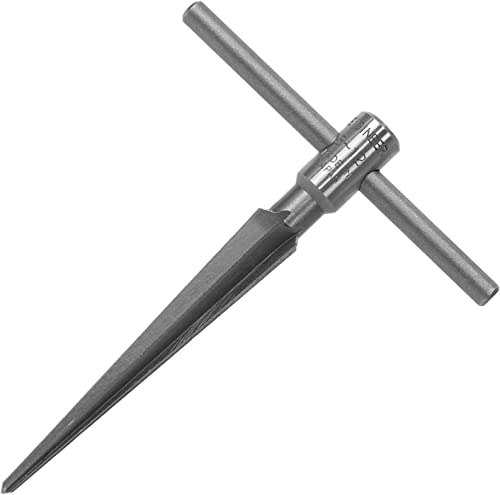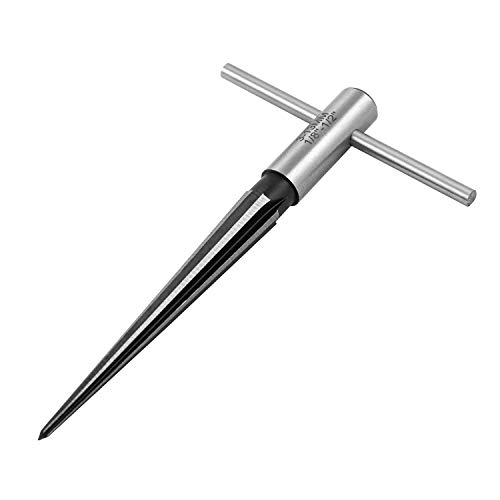
Step 1: Choose the right reaming tool
Before you can start reaming a hole, it’s essential to choose the right reaming tool for the job. There are various types of reamers available, including hand reamers, machine reamers, and adjustable reamers. Each type of reamer is designed for specific applications, so it’s crucial to select the one that best suits your needs.
Step 2: Secure the workpiece
Once you have the right reaming tool, the next step is to secure the workpiece. This is important because it ensures the hole remains stable while you’re reaming. There are different methods you can use to secure the workpiece, depending on its size and shape. For smaller workpieces, you can use a vise or clamps to hold it in place. For larger pieces, you may need to use a workbench or other support structure to keep it stable.
Step 3: Prepare the hole for reaming
Before you begin reaming, it’s crucial to prepare the hole properly. This involves removing any burrs or rough edges that may be present. You can use a deburring tool or a file to remove these imperfections and ensure a smooth surface for the reaming process. Additionally, it’s essential to check the size and alignment of the hole to ensure it is suitable for reaming.
Step 4: Start reaming the hole
Now that you have the right reaming tool and the workpiece is securely in place, it’s time to start reaming the hole. To do this, insert the reamer into the hole and begin turning it clockwise. Apply a steady and even pressure as you turn the reamer, ensuring that it remains aligned with the hole. The reamer will remove material from the hole, gradually enlarging it to the desired size. It’s important to monitor the progress and check the size of the hole periodically to ensure it is being reamed properly.
Step 5: Check the final size and finish
Once you have completed the reaming process, it’s crucial to check the final size and finish of the hole. Use a measuring tool, such as a caliper, to verify that the hole is within the required dimensions. Additionally, inspect the surface of the hole to ensure it is smooth and free of any imperfections. If necessary, you can use a deburring tool or sandpaper to remove any rough edges or burrs that may remain.