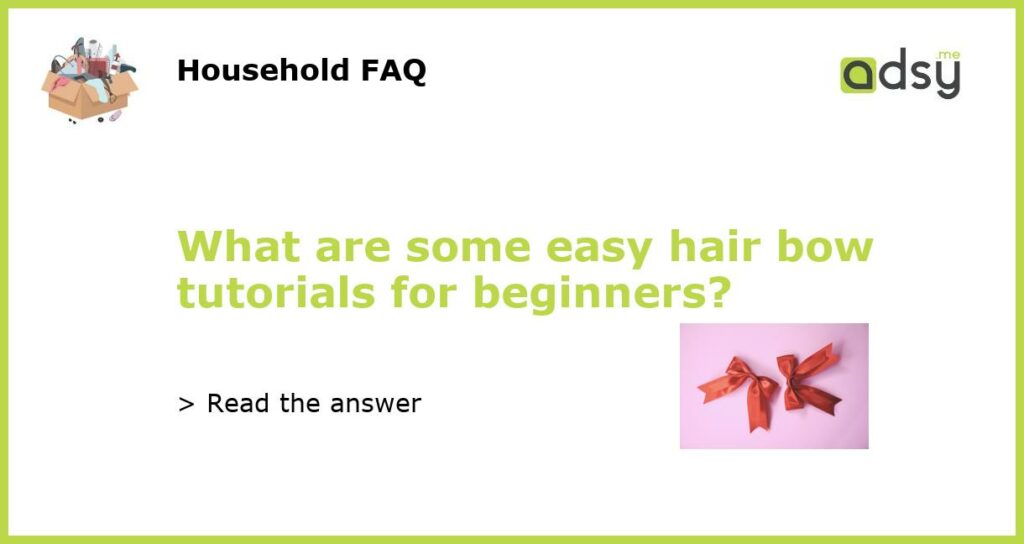
Basic Bow Tutorial: Simple and Easy for Beginners
If you’re just starting out with hair bow making, the basic bow tutorial is a great place to start. All you’ll need is some ribbon, scissors, and a hot glue gun. Cut your ribbon to the desired length, fold it in half, and tie a knot in the middle. Then, simply glue the loops and tails together in the back and add a clip or elastic band to finish it off.
Ribbon Flower Hair Bow Tutorial: Cute and Chic Design
If you’re looking for a more sophisticated hair bow design, try making a ribbon flower hair bow. This tutorial requires a bit more effort, but the final product is a stunning, chic accessory. To make this bow, cut several small pieces of ribbon and loop them around each other in a circular pattern. Add a center piece, glue everything together, and attach it to a clip or band.
Pigtails Hair Bow Tutorial: Perfect for Young Girls
If you’re making hair bows for young girls, pigtails are a popular option. To make these bows, start by creating a basic bow as described in the first tutorial. Then, attach the bow to a small section of hair using a clear elastic band or bobby pins. Repeat on the other side for a cute and fun look.
Fabric Hair Bow Tutorial: Great for Recycling Old Clothing
If you have old fabric lying around, turn it into a stylish hair bow. Cut your fabric into strips and sew them together to create a bow shape. Then, attach a clip or elastic band to the back. This tutorial is not only easy, but it’s also a great way to recycle old clothing and reduce waste.
Tulle Hair Bow Tutorial: Add Some Sparkle
Tulle hair bows are perfect for adding a touch of sparkle and glamour to any outfit. To make this bow, cut several layers of tulle into desired length and width. Stack them on top of each other and create a bow shape by pinching them together. Add a clip or elastic at the back and you’re done.


