What you will need:
Before we dive into the steps of creating a hair bow, let’s go over what you’ll need. First and foremost, you will need fabric scraps of your choice. The amount will depend on how big you want your bow to be. You’ll also need scissors, a hot glue gun, and ribbon to tie the bow onto your hair.
Cut your fabric scraps into the right shape:
Once you have gathered your materials, it’s time to get started. Cut your fabric scraps into rectangles or squares. The size will depend on how big you want your bow to be. For example, if you want a small bow, then a 3×5 inch piece of fabric will do the trick. Make sure that the edges of the fabric are lined up and even.
Folding and shaping:
Now it’s time to create the shape of the bow. Fold the fabric in half, so that the right sides are facing each other. Then take the two ends and fold them in towards the center of the fabric. Fold the fabric in half again, so that the folded ends meet in the center. Pinch the center together and secure with a dot of hot glue.
Attach the bow to the ribbon:
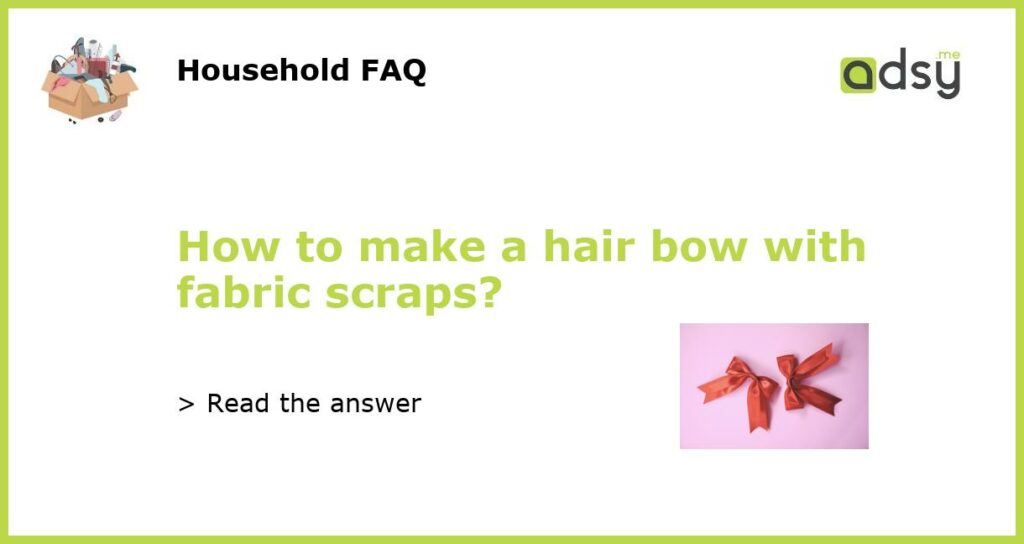
Take your ribbon and measure the length you want your bow to be. Cut the ribbon, and place a small dot of hot glue on the back of the bow. Press the ribbon onto the glue. Once it has cooled, tie the ribbon around your hair, and voila, you have a beautiful handmade hair bow made from fabric scraps.
Customizing your hair bow:
You can customize your hair bow to make it unique to your style. Add embellishments such as buttons, beads, or lace for an extra touch. You can also experiment with different fabrics, patterns, and colors to create a one-of-a-kind look. The possibilities are endless, have fun and be creative!


