How to Sand Curved Surfaces with a Sander
Curved surfaces can present a challenge when it comes to sanding. The uneven shape makes it difficult to achieve a smooth and uniform finish. However, with the right technique and tools, you can successfully sand curved surfaces with a sander. In this article, we will discuss the step-by-step process of sanding curved surfaces and provide some useful tips to ensure a professional and flawless result.
Choose the Right Type of Sander
The first step in sanding curved surfaces is selecting the appropriate sander for the job. There are several types of sanders available, including belt sanders, orbital sanders, and detail sanders. For curved surfaces, an orbital sander or a detail sander is recommended. These sanders have a smaller sanding pad and are more maneuverable, allowing you to reach all the nooks and crannies of the curved surface.
Make sure to use a sander with variable speed control. This feature allows you to adjust the speed of the sander according to the type of material and the level of sanding required. Slow down the speed for delicate surfaces and speed it up for harder materials.
Prepare the Curved Surface
Before you start sanding, it is crucial to prepare the curved surface properly. Remove any hardware or attachments that may get in the way of the sanding process. Clean the surface with a mild detergent to remove any dust or debris. For old surfaces with paint or varnish, you may need to use a paint stripper to remove the existing finish.
If the curved surface has any imperfections or dents, fill them with wood putty or a suitable filler. Sand the surface lightly by hand to ensure it is smooth and even before moving on to the next step.
Attach the Sandpaper to the Sander
After preparing the curved surface, it’s time to attach the sandpaper to the sander. Choose the appropriate grit sandpaper based on the level of sanding required. For rough surfaces, start with a lower grit sandpaper (around 60-80 grit) and gradually move to higher grits (120-220) for a smoother finish.
If your sander has a Velcro or hook-and-loop attachment, simply press the sandpaper onto the sanding pad. For sanders with clamps, secure the sandpaper tightly, making sure it is aligned with the sander’s pad. Ensure the sandpaper is taut and not loose to prevent uneven sanding.
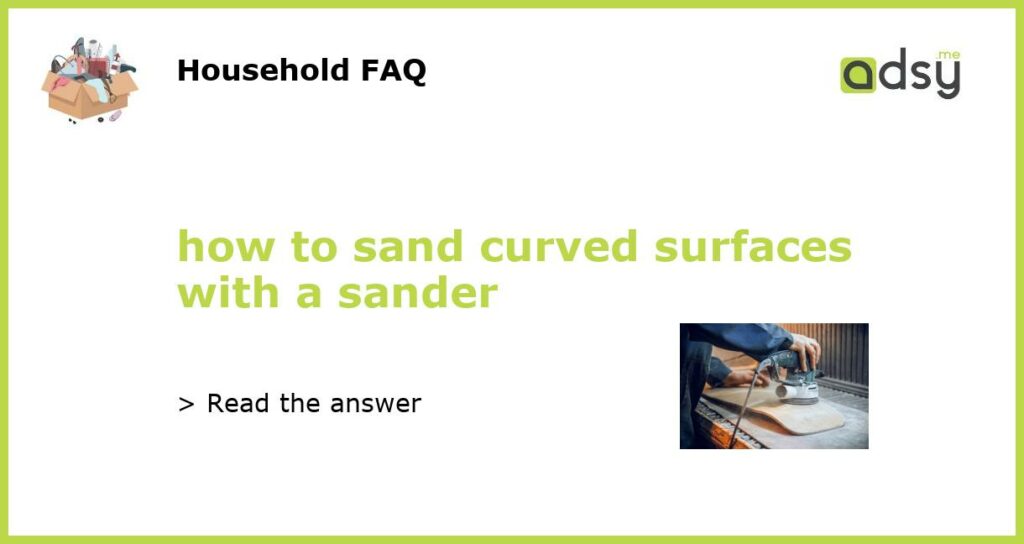
Sanding Technique for Curved Surfaces
When sanding curved surfaces, it is crucial to maintain a steady and controlled technique. Start by holding the sander with a firm grip, positioning it perpendicular to the surface. Apply gentle, even pressure and move the sander in circular or back-and-forth motions, following the natural curve of the surface.
Avoid keeping the sander in one spot for too long, as it can create dips or uneven spots. Keep the sander moving at a steady pace to achieve a consistent sanding result. Take breaks occasionally to check the progress and make adjustments as needed.
Finishing Touches
Once you have completed the sanding process, it’s time to give the curved surface some finishing touches. Use a finer grit sandpaper (around 220) to smooth out any remaining rough edges or imperfections. Hand sanding may be required for smaller or intricate areas that the sander couldn’t reach.
After sanding, wipe down the surface with a damp cloth or tack cloth to remove any sanding dust. This step is essential to ensure a clean surface for painting or applying a new finish. If desired, you can apply a primer or sealer before painting or staining the curved surface to enhance its durability and appearance.
In conclusion, sanding curved surfaces with a sander requires patience, the right tools, and proper technique. By choosing the right type of sander, adequately preparing the surface, attaching the sandpaper correctly, using the appropriate sanding technique, and adding finishing touches, you can achieve a smooth and professional result for your curved surfaces.