5 Tips for Sanding a Rough Surface with a Sander
When it comes to achieving a smooth and polished finish on a rough surface, using a sander is the way to go. Whether you’re refinishing furniture or preparing a surface for painting, sanding can make a dramatic difference in the final result. However, it’s important to understand the proper techniques to ensure the best outcome. Here are five tips for sanding a rough surface with a sander:
Choose the right sander
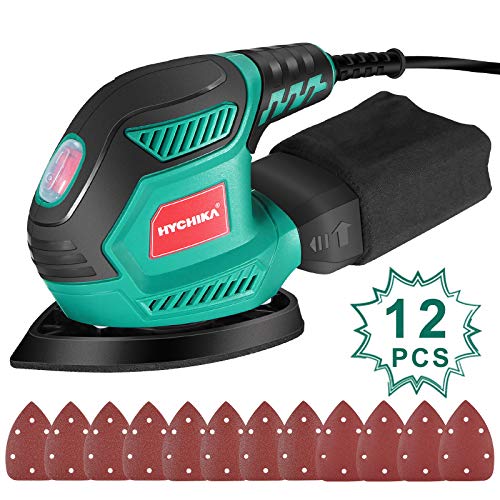
Before you begin sanding, it’s crucial to choose the right type of sander for the job. There are several types of sanders available, including belt sanders, palm sanders, and random orbital sanders. Each sander has its own unique characteristics and intended use. For rough surfaces, a belt sander or a random orbital sander is generally the best option. These types of sanders are more aggressive and can remove material quickly.
Start with a coarse grit sandpaper
When sanding a rough surface, it’s important to start with a coarse grit sandpaper to remove the imperfections and level the surface. A coarse grit sandpaper, such as 60 or 80 grit, will efficiently remove any bumps, rough spots, or old finishes. It’s important to follow the grain of the wood or the direction of the surface to avoid creating scratches. Move the sander in a slow and steady motion, applying even pressure to ensure consistent sanding.
Gradually switch to finer grit sandpaper
After you have smoothed out the rough surface with a coarse grit sandpaper, it’s time to gradually switch to finer grit sandpaper to achieve a smoother finish. Start with a medium grit sandpaper, such as 120 or 150 grit, and continue sanding the surface in the same manner as before. This will help eliminate any scratches or marks left by the coarse grit sandpaper. Gradually progress to even finer grits, such as 220 or 320, until you achieve the desired level of smoothness.
Use a sanding block for hard-to-reach areas
While sanders are efficient tools for sanding large, flat surfaces, they may not be able to reach all the nooks and crannies of your project. In these cases, using a sanding block can be extremely helpful. A sanding block allows you to manually sand difficult-to-reach areas, such as corners or edges, with precision. Make sure to match the shape of the sanding block to the contour of the surface for the best results.
Finish off with hand sanding
Once you have achieved a smooth surface using the sander and finer grit sandpaper, it’s time to finish off with hand sanding. Hand sanding allows you to refine the surface even further and remove any remaining imperfections. Use a fine grit sandpaper, such as 400 or 600, and lightly sand the surface by hand. This will ensure that the surface is smooth to the touch and ready for the next step, whether it’s painting, staining, or applying a finish.