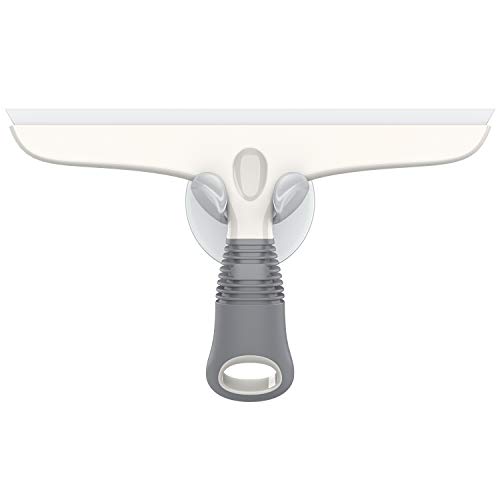
Step-by-Step Guide: How to Replace the Rubber Blade on a Squeegee
Replacing the rubber blade on a squeegee is a simple and straightforward process. Whether you use a squeegee for cleaning windows or other surfaces, knowing how to replace the rubber blade can extend the life and effectiveness of your tool. In this step-by-step guide, we will walk you through the process, ensuring that you have a clean and functional squeegee in no time.
Gather the Necessary Tools and Materials
Before you begin the process of replacing the rubber blade, make sure you have all the necessary tools and materials on hand. You will need a new rubber blade, a screwdriver (if applicable), a soft cloth or towel, and rubbing alcohol.
Remove the Old Rubber Blade
If your squeegee has a removable rubber blade, start by removing the old blade. This is typically done by loosening the screws or clips that hold the blade in place. Use a screwdriver if necessary, being careful not to strip the screws.
Clean the Squeegee Frame
Before installing the new rubber blade, take the time to clean the squeegee frame. Use a soft cloth or towel and rubbing alcohol to remove any dirt, grime, or residue that may have accumulated. This will help ensure a clean and smooth surface for the new rubber blade to adhere to.
Install the New Rubber Blade
Once the frame is clean, it’s time to install the new rubber blade. Begin by placing one end of the blade into the slot or track on the squeegee frame. Gently push the blade into place, ensuring that it is aligned properly and evenly spaced. If necessary, adjust the tension screws or clips to secure the blade in place.
Test and Adjust
After installing the new rubber blade, it’s important to test and adjust the squeegee as needed. Wet the rubber blade with water or a cleaning solution and perform a few test strokes on a window or other surface. Pay attention to how the squeegee glides and whether the blade leaves streaks or residue. If necessary, adjust the tension or angle of the blade until you achieve optimal performance.