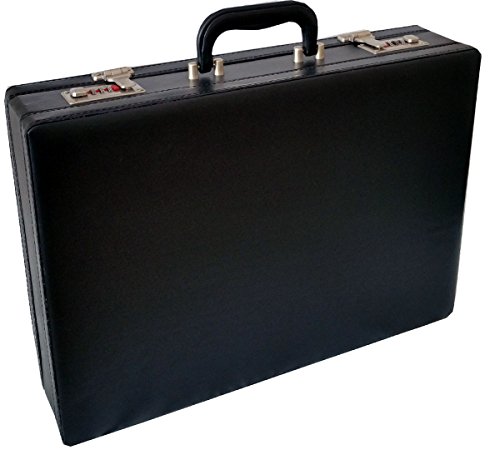
5 Steps to Repairing a Broken Briefcase Strap
When faced with a broken briefcase strap, it can be frustrating trying to figure out what to do next. However, repairing the strap yourself can be a simple and cost-effective solution. Here are five easy steps to repair a broken briefcase strap:
Step 1: Assess the Damage
The first step in repairing a broken briefcase strap is to assess the damage. Take a look at the strap and examine where it has broken. Is it a clean break or is there fraying? This will determine the method for the repair.
Step 2: Gather Your Materials
Next, gather the necessary materials to complete the repair. This will typically include a replacement strap or a piece of leather, a craft knife or scissors, glue, and any necessary hardware such as rivets or screws.
Step 3: Remove the Broken Strap
Use your craft knife or scissors to remove the broken portion of the strap. If the strap is frayed or damaged, cut it back until you reach a clean and sturdy section. Be careful not to damage any hardware or other parts of the briefcase during this step.
Step 4: Attach the Replacement Strap
If you have a replacement strap, attach it to the briefcase using the hardware provided or by sewing it in place. If you are using a piece of leather, cut it to the appropriate length and attach hardware to each end to secure it to the briefcase. Be sure to use glue and any necessary tools such as pliers to ensure a secure attachment.
Step 5: Allow the Repair to Dry
Once the repair is complete, allow the glue to dry completely before using the briefcase again. This may take several hours or overnight depending on the type of glue and materials used.


