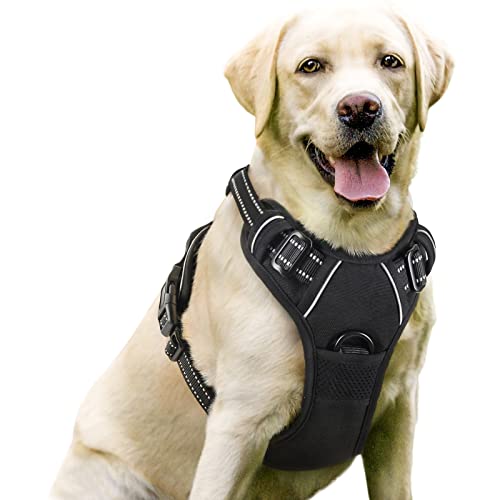
Why make a homemade dog harness?
Making a homemade dog harness can not only save you money, but also give you the opportunity to customize and adjust the harness to fit your dog’s specific needs. Commercially available harnesses may not always fit perfectly or have the desired features, so creating your own harness can provide a comfortable and secure option for your furry friend.
Materials needed
Creating a homemade dog harness requires a few materials, including:
- Nylon webbing straps
- Plastic adjusters
- D-ring
- Fabric measuring tape
- Scissors
- Sewing machine
DIY steps
First, measure your dog’s girth and neck to determine the amount of webbing needed. Cut two straps for the girth, and two for the neck, each with a length of about 1/3 of your dog’s girth and neck measurement. Sew the ends of the straps to the adjusters to create loops.
Next, attach the two girth loops to the D-ring, and then attach the neck loops to the girth loops. Adjust the straps to fit your dog snuggly but comfortably. Make sure to leave enough room for two fingers to fit between the harness and your dog’s body to ensure that it is not too tight.
Additional features
If desired, you can add more features to your homemade dog harness, such as a handle or reflective strips for nighttime visibility. For a handle, simply attach a loop of webbing to the top of the harness with a strong stitch. For reflective strips, sew them onto the harness with a reflective sewing thread.
Safety considerations
It is important to ensure that the homemade dog harness is secure and does not restrict your dog’s movement or breathing. Always supervise your dog while they are wearing the harness to ensure they do not chew or bite it. Additionally, never leave your dog tied up or unattended while wearing the harness.