Step 1: Measure and Plan
Before installing a handrail on a curved staircase, it is important to measure and plan the installation process. Start by measuring the length and height of the staircase to determine the length of the handrail needed. Take note of any curves or angles in the staircase design that may affect the installation process.
Once you have the measurements, create a plan for the handrail installation. This plan should include the type of handrail you will be installing, the materials needed, and any additional supports or brackets that may be required.
Step 2: Gather Materials
Once you have a plan in place, gather all the materials and tools needed for the handrail installation. This may include the handrail itself, brackets or supports, screws or bolts, a drill, measuring tape, and a level.
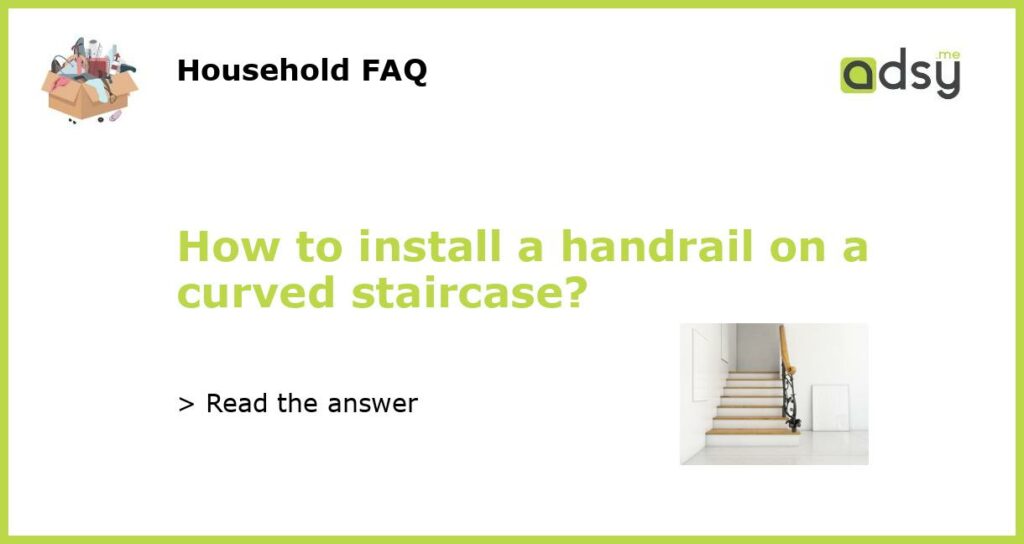
Make sure to choose a handrail that is suitable for curved staircases. There are specialized handrails available that are flexible and can be shaped to fit the curve of the staircase. These handrails are typically made of wood or metal and can be purchased from home improvement stores or online.
Step 3: Install Brackets and Supports
The next step is to install the brackets or supports for the handrail. Start by marking the locations where the brackets will be installed on the wall or posts. Use a level to ensure that the brackets are straight and aligned correctly.
Once the locations are marked, use a drill to create pilot holes for the screws or bolts. This will prevent the wood from splitting when the brackets are attached. Attach the brackets securely to the wall or posts using the appropriate screws or bolts.
Step 4: Attach Handrail
Once the brackets or supports are in place, it is time to attach the handrail. If you are using a flexible handrail, carefully shape it to fit the curve of the staircase. It may be helpful to have an extra set of hands to hold the handrail in place while it is being attached.
Begin by attaching one end of the handrail to the first bracket or support. Use screws or bolts to secure the handrail in place. Continue attaching the handrail to each bracket or support, making sure it is secure and level.
Step 5: Test and Ensure Safety
After the handrail is securely attached, it is important to test it and ensure that it is safe for use. Grab the handrail and apply pressure to make sure it can support the weight of a person. Wiggle the handrail to check for any loose connections or weak points.
If any issues are found, make the necessary adjustments or repairs to ensure the handrail is safe and secure. It may be necessary to tighten screws or add additional supports as needed.
It is also important to check the local building codes or regulations to ensure that the handrail installation meets the required safety standards. Some areas may have specific guidelines for handrail height, materials, and installation methods.


