Understanding Pastry Nozzles
Pastry nozzles, also known as piping tips, are an essential tool for achieving that professional finish on your baked goods. These small metal or plastic attachments are fitted onto pastry bags to create different designs and shapes when piping icing or dough. Whether you’re a beginner or an experienced baker, knowing how to use a pastry nozzle correctly is key to creating beautiful and impressive desserts. In this article, we will guide you through the process of achieving a professional finish with a pastry nozzle.
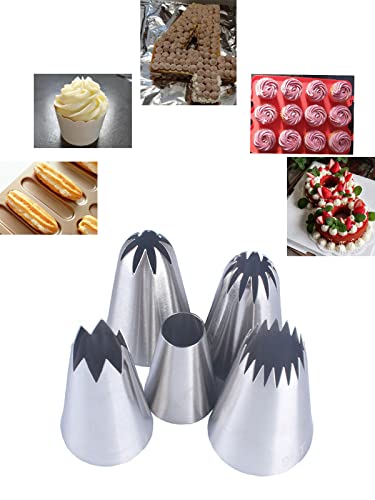
Selecting the Right Pastry Nozzle
The first step in achieving a professional finish is choosing the right pastry nozzle for the job. There are a wide variety of nozzle shapes and sizes available, each designed for specific purposes. For basic designs like dots or lines, a small round nozzle (such as Wilton #3 or #4) would work well. If you’re looking to create more intricate designs like flowers or rosettes, a petal or star-shaped nozzle would be more suitable. It’s also important to consider the size of the opening, as a larger opening will create thicker lines or borders while a smaller opening will create finer details.
Preparing the Pastry Bag
Before you start piping, it’s crucial to properly prepare the pastry bag. If you’re using a disposable plastic bag, simply snip off the tip to fit the nozzle, and push the nozzle through the hole. If you’re using a reusable cloth bag, insert the nozzle into the bag and secure it with a coupler. Fold down the top of the bag and fill it with the desired icing or dough. Twist the top of the bag to create pressure and hold it firmly with your dominant hand. This will give you better control over the icing and help prevent any leaks or messes.
Mastering the Piping Technique
Now it’s time to practice your piping technique. Hold the bag with your dominant hand and use your other hand to guide the movement. Start with light pressure and gradually increase as you gain more control. To create a smooth and even flow, keep the nozzle slightly above the surface and apply even pressure as you pipe. For more intricate designs, such as flowers or leaves, practice the motion on a flat surface before moving onto your dessert. Remember, practice makes perfect, so don’t be discouraged if your first attempts don’t turn out exactly as planned.
Adding the Finishing Touches
Once you’ve piped your desired design onto your dessert, it’s time to add the finishing touches. Use a small palette knife or spatula to smooth any imperfections or uneven edges. This will give your dessert that polished and professional appearance. You can also enhance your design with additional elements such as sprinkles, edible glitter, or colored icing. Don’t be afraid to get creative and experiment with different techniques to make your dessert stand out.