Understanding Correction Tape Basics
Correction tape, also known as white-out tape or line correction tape, is a commonly used tool to cover up mistakes, typos, or printing errors on paper. Unlike correction fluid, which can be messy and time-consuming to use, correction tape is a quick and easy solution to fix errors. But how long should you shake a correction tape before using it? Let’s explore this question in more detail.
What’s Inside a Correction Tape?
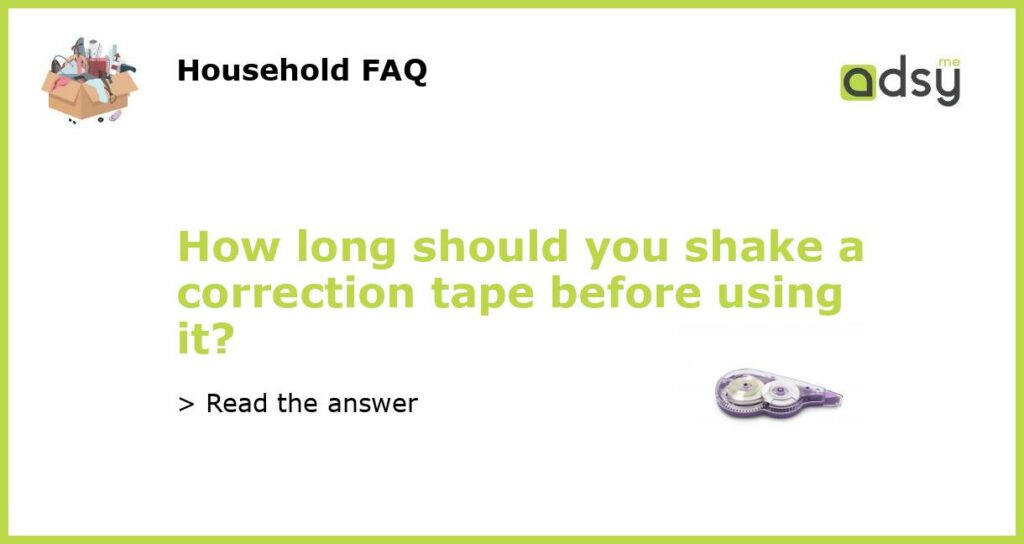
Before we answer the question, we need to understand what’s inside a correction tape. Most correction tapes consist of a thin, transparent tape coated with a white or colored opaque film, usually made of titanium dioxide or other pigments. The tape is wound tightly around a spool, and the film is dispensed through a narrow nozzle or tip, which can be rolled or pressed onto the paper.
Do You Need to Shake It?
Now that we know the basic components of a correction tape, let’s address the shaking question. The short answer is: No, you don’t need to shake it. Correction tape doesn’t contain any liquid or mixable substances that need to be agitated before use, unlike correction fluid or paint. Therefore, shaking a correction tape won’t make any difference in its performance or quality.
But There’s One Exception…
However, there’s one situation where you might want to “shake” a correction tape, or at least roll it on a scrap piece of paper or your hand, before using it. If the tape has been sitting unused for a while, or if it’s exposed to extreme temperatures or pressure, the film may become dry, stiff, or clumped, making it difficult to apply evenly or smoothly. By rolling the tape for a few seconds, you can reactivate the adhesive and soften the film, allowing it to flow more smoothly and adhere better to the paper surface.
Tips for Using Correction Tape
Whether you shake your correction tape or not, here are some tips to help you use it more effectively:
- Choose the right type of tape for your needs. If you’re correcting a small error or a single letter, a narrow or fine-tip tape will work best. If you’re covering up a large area or a complete line of text, a wider tape will be more efficient.
- Hold the tape at an angle of 30-45 degrees to the paper, so that the tip touches the paper first and the tape rolls out smoothly. Avoid pressing too hard or too lightly, as either can cause the tape to wrinkle or slide off.
- Roll the tape gently and evenly, without stopping or lifting the tip, until you reach the end of the error. If you need to change direction or angle, release the pressure on the tape slightly and reposition it.
- Once the correction tape is applied, wait a few seconds for it to dry completely before writing or printing over it. This will prevent smudging or smearing of the ink or toner.
- Store your correction tape in a cool, dry place, away from direct sunlight or heat, to maintain its quality and consistency over time.


