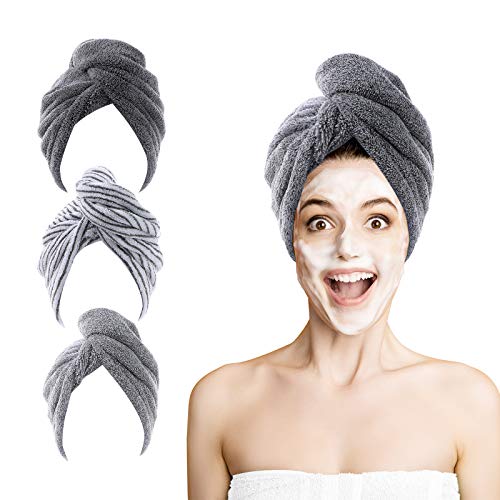
How to Make Your Own Hair Turban in 5 Easy Steps
Have you ever wanted to try a hair turban, but didn’t want to spend money on buying one? With just a few household items and a little bit of time, you can create your own DIY hair turban. Follow these five easy steps to make your own:
Step 1: Gather Your Materials
You’ll need an old t-shirt or a towel, scissors, and a hair tie. You can use any old t-shirt or towel you have lying around. Make sure the material is absorbent and soft on your hair.
Step 2: Cut Your Material
Cut the t-shirt or towel into a rectangular shape. The dimensions should be about 20 inches by 30 inches. If your hair is longer, you may need a larger rectangle.
Step 3: Fold the Material
Take the rectangle and fold it in half lengthwise with the softer side facing out. Then take one end and fold it towards the middle. Do the same with the other end so they overlap slightly in the middle.
Step 4: Form the Turban
Place the folded material at the nape of your neck with the overlapped part facing up. Take the sides and cross them at the front of your head. Then bring them to the back of your head and tie them in a knot or secure them with a hair tie.
Step 5: Dry Your Hair
Leave the turban on for 10-15 minutes or until your hair is dry. Then remove it and style as desired. The turban will help absorb excess water and reduce frizz.
Creating your own DIY hair turban is a fun and cost-effective way to care for your hair. You can customize the size, material, and color to fit your personal style. Try making one today and enjoy the benefits of a hair turban!