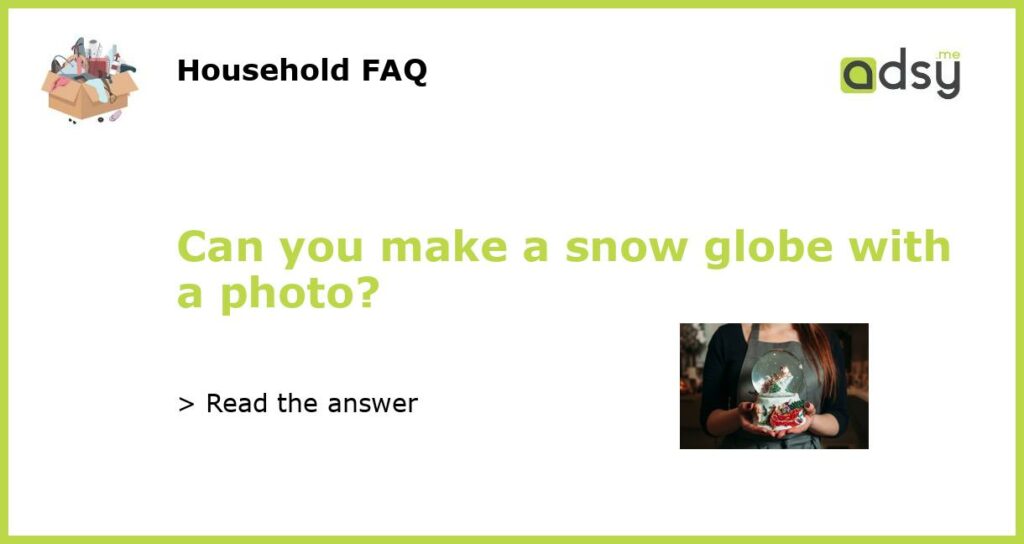
Yes, you can make a snow globe with a photo
If you’re looking for a unique and personalized gift or a fun DIY project, making a snow globe with a photo is a great idea. Not only does it allow you to capture a special moment or memory, but it also adds a touch of personalization to the traditional snow globe concept. In this article, we will explore the process of making a snow globe with a photo, from selecting the right materials to assembling the final product.
Materials needed for making a snow globe with a photo
Before you start making your snow globe, you will need to gather a few materials. Here’s a list of what you’ll need:
- A clear glass jar or container with a lid
- A printed photo that fits inside the jar
- Distilled water
- Glycerin
- Glitter or fake snow
- Waterproof adhesive
- A small figurine or object to place inside the snow globe
The process of making a snow globe with a photo
Now that you have your materials ready, it’s time to start making your snow globe with a photo. Here’s a step-by-step guide:
- Prepare the jar: Clean your glass jar or container thoroughly and make sure it is dry before proceeding.
- Choose and prepare the photo: Select a photo that fits inside the jar and print it on high-quality photo paper. Trim the photo to fit the desired size and shape.
- Attach the photo: Apply a thin layer of waterproof adhesive to the back of the photo and carefully press it onto the inside of the jar’s lid. Make sure the adhesive is evenly spread to avoid any wrinkles or air bubbles.
- Add the water and glycerin: Fill the jar with distilled water, leaving a small gap at the top. Add a few drops of glycerin to the water to create a thicker consistency that will make the snow or glitter float more slowly.
- Add the figurine and glitter: Place the small figurine or object inside the jar, making sure it is positioned upright. Add a pinch of glitter or fake snow to create the snow globe effect. Avoid using too much glitter as it can make the water cloudy.
- Seal the jar: Carefully screw the lid with the attached photo onto the jar, making sure it is tightly sealed. This will prevent any water from leaking out.
Tips for creating a beautiful snow globe with a photo
To make your snow globe with a photo even more special, consider the following tips:
- Choose a high-quality photo with vibrant colors and clear details to ensure it looks great inside the snow globe.
- Experiment with different figurines or objects to create a unique and personalized snow globe. For example, you could use a miniature replica of a favorite landmark or a small toy that holds sentimental value.
- Play around with the amount and type of glitter or fake snow to achieve the desired snowflake effect. You can mix different colors or even use shaped glitter for added visual interest.
- Consider adding a personalized message or engraving on the bottom of the jar to make the snow globe even more meaningful.
- Don’t forget to test the tightness of the jar lid before giving or displaying your snow globe to ensure that it is properly sealed and won’t leak.
In conclusion
Making a snow globe with a photo is a creative and fun way to preserve a special memory or create a personalized gift. By following the steps outlined above, you’ll be able to create a beautiful snow globe that can be cherished for years to come. Remember to gather the necessary materials, carefully assemble the snow globe, and consider adding personal touches to make it truly unique. So go ahead, gather your materials, choose your favorite photo, and get started on your own DIY snow globe project!


