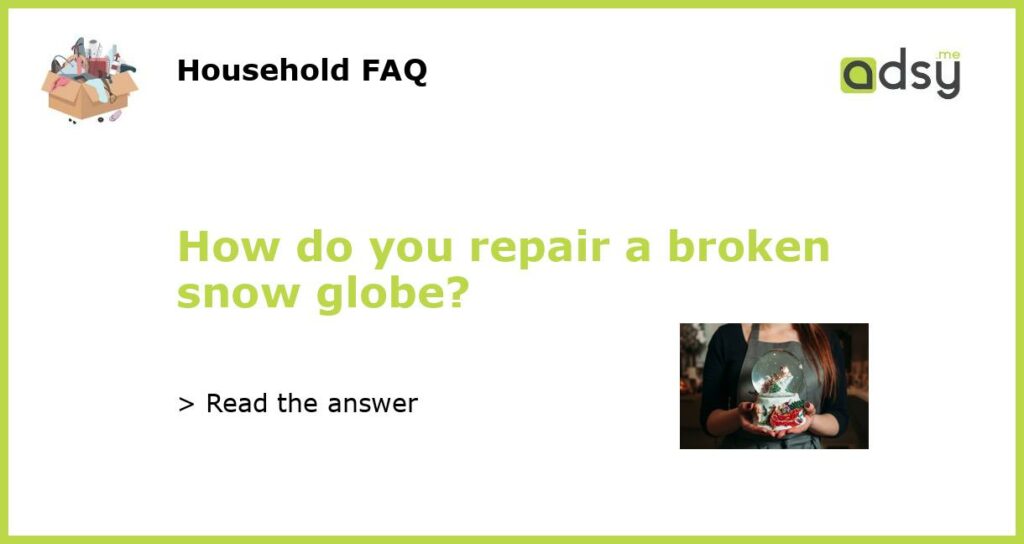
Assess the damage
When repairing a broken snow globe, the first step is to assess the damage. Carefully examine the globe to determine the extent of the broken pieces. Look for any cracks or fractures in the glass or plastic, as well as any damage to the base or internal components. This assessment will help you determine what needs to be repaired and what materials you’ll need for the job.
Gather the necessary supplies
Once you have assessed the damage, gather the necessary supplies for repairing your snow globe. Depending on the extent of the damage, you may need epoxy or super glue to repair any broken pieces. Additionally, you might require replacement parts such as a new base or snow elements. Make a list of everything you need before starting the repair process to ensure you have all the necessary materials on hand.
Glue broken pieces back together
The next step in repairing a broken snow globe is to glue the broken pieces back together. Epoxy or super glue can be used for this task. Apply a small amount of glue to one side of the broken pieces and carefully press them together, ensuring they align properly. Hold them in place for a few minutes to allow the glue to dry and create a strong bond. Repeat this process for any other broken pieces until the snow globe is fully repaired.
Replace any damaged parts
If your snow globe has any damaged parts that cannot be repaired, such as a cracked base or broken internal components, you may need to replace them. Search online or visit a local arts and crafts store to find replacement parts that match the original design and size of your snow globe. Once you have the replacement parts, follow the manufacturer’s instructions to remove the damaged components and install the new ones. This will ensure that your snow globe is fully functional and visually appealing again.
Test the snow globe and make final adjustments
After completing the repairs and replacements, it’s important to test the snow globe to ensure it is working properly. Fill the globe with water or liquid according to the manufacturer’s instructions, add any necessary snow elements, and shake the globe to see if everything is functioning as it should. If you notice any issues, such as leaking or inadequate snowfall, make the necessary adjustments to fix these problems. Once you are satisfied with the functionality and appearance of your repaired snow globe, display it proudly or give it as a gift to bring joy to yourself or someone else.


