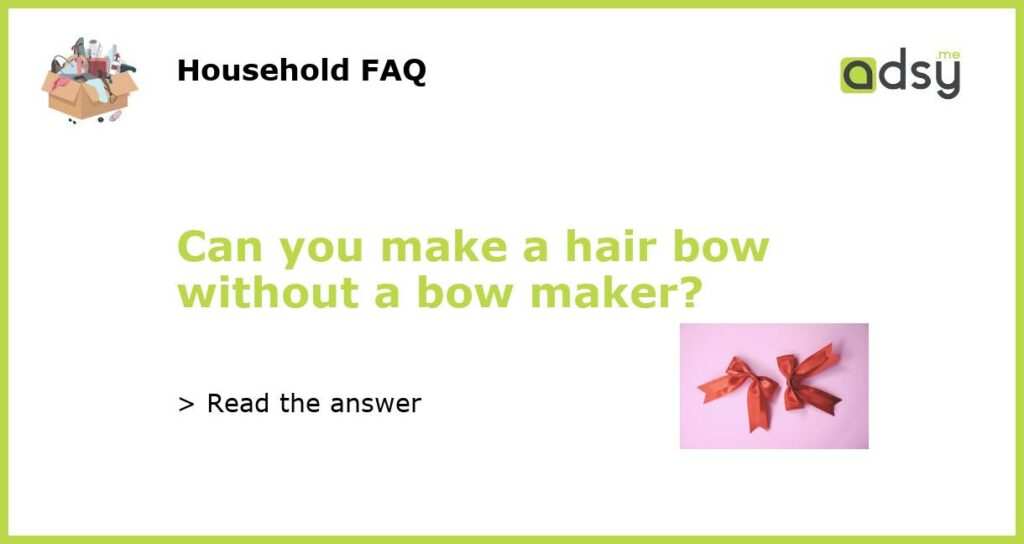
How to Make a Hair Bow Without a Bow Maker: A Step-by-Step Guide
Have you ever wanted to create a cute and stylish hair bow, but didn’t have a bow maker on hand? Don’t worry, you can still make a beautiful bow with just a few supplies and a little bit of patience. Follow these simple steps to create a gorgeous hair accessory that will add a pop of color to any outfit.
Step 1: Gather Your Supplies
Before you start making your hair bow, you’ll need a few supplies. Grab a piece of ribbon that is about 36 inches long and 2 inches wide. You’ll also need a hair tie, a pair of scissors, and some glue.
Step 2: Fold Your Ribbon
Take your ribbon and fold it in half, with the shiny side facing up. Then, fold the ribbon in half again, so that you have four layers of ribbon stacked on top of each other.
Step 3: Create Your Bow
Pinch the ribbon in the center and tie it with a hair tie. This will create the shape of your bow. Next, cut two small pieces of ribbon and wrap them around the center of the bow to cover up the hair tie. Use a small dab of glue to secure the ends of the ribbon in place.
Step 4: Finish Your Bow
Trim the ends of the ribbon at an angle to create a finished look. You can also use scissors to trim any uneven edges. Finally, take a small piece of ribbon and tie it around the back of the bow to create a loop. This will allow you to attach the bow to a hair clip or headband.
Now that you know how to make a hair bow without a bow maker, you can experiment with different colors and patterns to create unique and beautiful accessories. Whether you want to add some flair to your own hair, or create a special gift for a friend, making a hair bow is a fun and easy DIY project.


