Yes, a Sander Can Be Used for Removing Paint
If you’re looking to remove paint from a surface, using a sander can be an effective method. Whether you’re tackling a small DIY project or a larger scale renovation, a sander can help strip away old layers of paint quickly and efficiently. In this article, we’ll explore how a sander can be used for paint removal, discuss the types of sanders available, and provide some tips for achieving the best results.
Types of Sanders for Paint Removal
There are several types of sanders that can be used for removing paint, each with its own advantages and considerations:
1. Random Orbital Sander: This versatile sander is a popular choice for paint removal. It uses a circular sanding motion combined with random orbital movement to minimize swirl marks. Random Orbital Sanders are available in both electric and cordless versions, and offer a high level of control and precision.
2. Belt Sander: Belt sanders utilize a continuous loop of sandpaper wrapped around two drums. These sanders are more aggressive and are better suited for larger, flat surfaces. However, caution should be exercised when using a belt sander, as they can easily damage delicate or smaller surfaces if not used correctly.
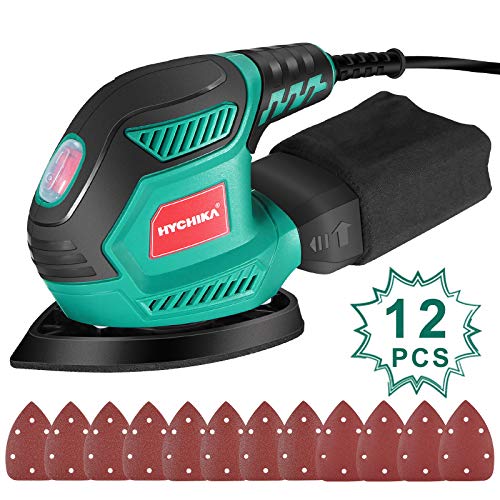
3. Detail Sander: This small, compact sander is ideal for intricate or hard-to-reach areas. With a triangular-shaped sanding pad, it can easily access corners and edges. Detail sanders are lightweight and easy to maneuver, making them a great option for removing paint from furniture, moldings, or staircases.
Tips for Using a Sander for Paint Removal
Here are some tips to keep in mind when using a sander to remove paint:
1. Safety First: Always wear protective gear, such as safety goggles and a dust mask, to protect yourself from dust and debris. Additionally, make sure to work in a well-ventilated area to minimize exposure to fumes.
2. Choose the Right Sandpaper: The type of sandpaper you use will depend on the surface and the paint you’re removing. For a more aggressive removal, start with a coarser grit and gradually switch to finer grits for a smoother finish.
3. Test in an Inconspicuous Area: Before tackling the entire surface, it’s a good idea to test the sander on a small, inconspicuous area. This will help you determine the appropriate speed and pressure needed to remove the paint without damaging the underlying material.
4. Work in Stages: To avoid overheating the sander or causing damage, it’s best to work in small sections and take breaks as needed. This will also allow you to assess the progress and make any necessary adjustments.
When Not to Use a Sander for Paint Removal
While a sander can be a powerful tool for paint removal, there are some instances where it may not be suitable:
1. Delicate or Thin Surfaces: If you’re working with a delicate or thin surface, such as veneer or antique furniture, a sander may be too aggressive and risk damaging the material. In these cases, a gentler method, like chemical paint strippers, may be a better option.
2. Lead-Based Paint: If the paint you’re removing contains lead, special precautions need to be taken. Sanding lead-based paint can release toxic dust, putting you at risk of lead poisoning. Consult with a professional or refer to the EPA guidelines for safe lead paint removal.
In Summary
Using a sander for paint removal can be a fast and efficient method, especially when dealing with larger surfaces. Random Orbital Sanders, Belt Sanders, and Detail Sanders all offer their own strengths for different projects. However, it’s important to prioritize safety, choose the right sandpaper, and test the sander on a small area beforehand. If you’re working with delicate surfaces or lead-based paint, other methods may be more suitable. With the right techniques and precautions, a sander can be a valuable tool in your paint removal arsenal.