Organizing Your Toolbox: The Best Way to Search for Lost Tools in a Messy Toolbox
Organizing your toolbox is a task that often gets overlooked, but it can make a big difference when it comes to finding lost tools. Whether you are a professional tradesperson or an avid DIYer, having a well-organized toolbox can save you time and frustration. In this article, we will explore the best way to search for lost tools in a messy toolbox and provide you with some practical tips to keep your tools in order.
Step 1: Empty Your Toolbox
The first step in organizing your toolbox is to empty it completely. This will give you a clean slate to work with and allow you to see all of the tools that you have. Take this opportunity to remove any items that do not belong in your toolbox, such as random screws or nails, and set them aside for later sorting.
Step 2: Sort and Group Tools
Once your toolbox is empty, it’s time to sort and group your tools. Start by dividing your tools into categories based on their function. For example, you might have separate groups for screwdrivers, wrenches, and pliers. This will make it easier to find the tool you are looking for later on.
Within each group, further sort your tools by size or type. Consider using dividers or trays to separate your tools and keep them organized within each category. This will prevent smaller tools from getting lost among larger ones, making it easier to find what you need.
Step 3: Utilize Tool Storage Solutions
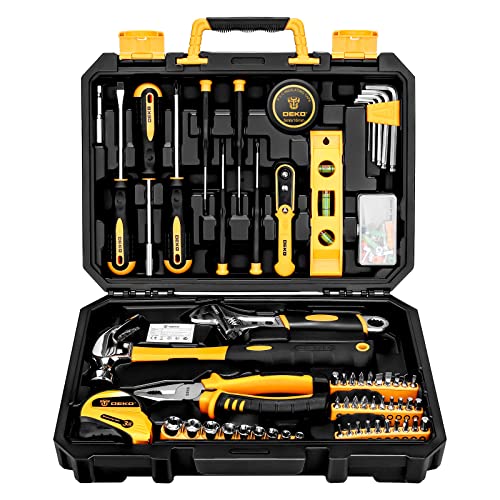
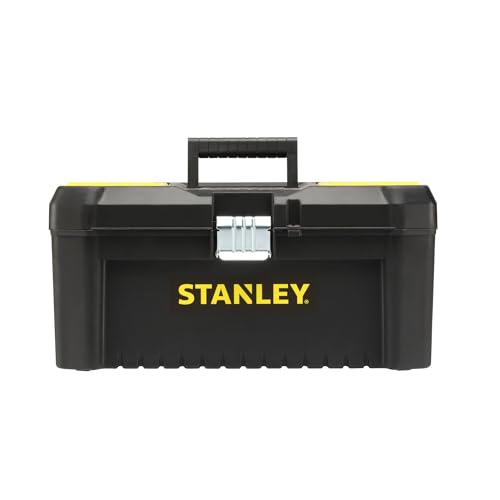
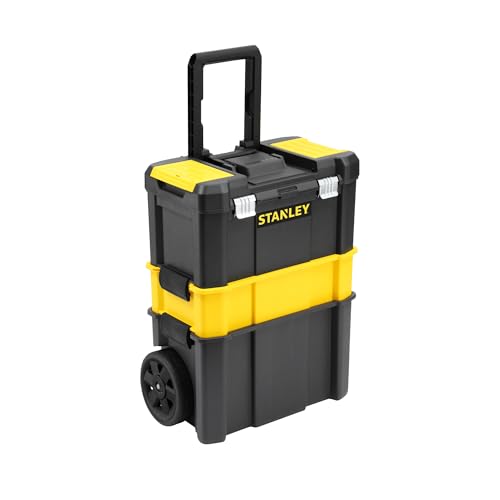
Investing in some tool storage solutions can go a long way in keeping your toolbox organized. There are various options available, such as toolboxes with built-in compartments, foam inserts that securely hold your tools in place, or magnetic strips that can be attached to the walls of your toolbox to hold metal tools.
Consider your specific needs and the type of tools you have before choosing a storage solution. Some tools, such as screwdrivers or pliers, might be better suited to a storage system with individual slots, while others, such as wrenches, might be better stored on a magnetic strip.
Step 4: Label and Color Code
One of the most effective ways to maintain an organized toolbox is to label and color code your tools. This can be especially helpful if you work in a trade where different tools are commonly shared among coworkers.
Use permanent markers or labels to clearly mark the name of each tool on its storage space. Additionally, consider using colored tape or stickers to assign each tool to a specific category or user. This will make it easier to spot any missing tools and ensure that everything is returned to its proper place at the end of the day.
Step 5: Establish a Maintenance Routine
The final step in organizing your toolbox is to establish a maintenance routine. Set aside a regular time, whether it’s at the end of each workday or once a week, to clean and reorganize your toolbox.
During this time, take the opportunity to inspect your tools for any signs of wear or damage. Remove any tools that are no longer functional or unsafe to use. Clean and oil your tools as necessary to prevent rust and ensure they are in good working condition.
By regularly maintaining your toolbox, you can prevent it from becoming cluttered and disorganized again. Make it a habit to return each tool to its designated spot after each use, and you will always know exactly where to find it.
With these five steps, you can transform your messy toolbox into a well-organized and efficient storage solution for your tools. Spending a little extra time upfront to organize your toolbox will save you time and frustration in the long run, allowing you to focus on the task at hand.


