The Importance of Applying Correction Fluid Correctly
Correction fluid is an essential tool for anyone who works with documents, especially those who regularly use a manual typewriter or ink pen. However, not everyone applies correction fluid correctly, which can lead to messy and ineffective results. In this article, we will be discussing the best way to apply correction fluid to achieve the best possible results.
Choose the Right Correction Fluid
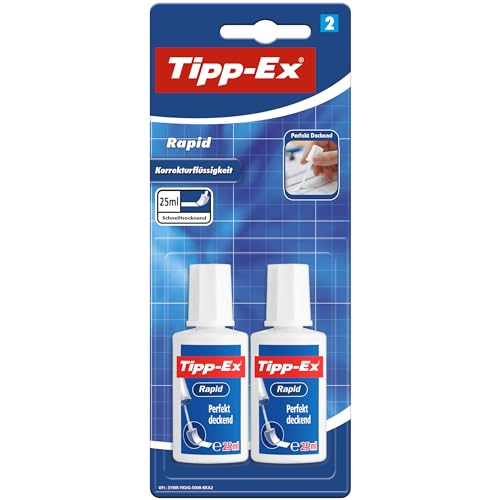
There are many types of correction fluid on the market, so it’s important to choose the right one for your needs. Some brands are better suited for use on glossy paper, while others are better suited for use on standard printer paper. Make sure to read the labels before purchasing to ensure you’re getting the right product for your specific needs.
Shake Well Before Use
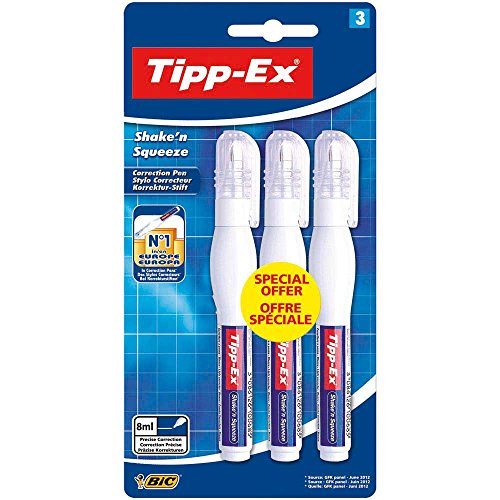
Before applying correction fluid, be sure to shake the bottle well. This will help to ensure that the fluid is properly mixed and will provide even coverage. If the fluid has not been shaken well, it may come out clumpy or uneven, which can make the correction process more difficult.
Apply Thin Layers
The key to achieving the best results when using correction fluid is to apply thin layers. If you apply too much at once, the fluid will take longer to dry and may even smudge. Additionally, applying thin layers will prevent the paper from wrinkling or becoming discolored. If you need to make multiple corrections, wait for each layer to fully dry before applying the next.
Store Correctly
Finally, it’s important to store your correction fluid correctly to ensure it remains usable. Store the bottle upright in a cool, dry place, and do not expose it to sunlight or other heat sources. Additionally, make sure the cap is tightly secured after each use to prevent the fluid from drying out.


