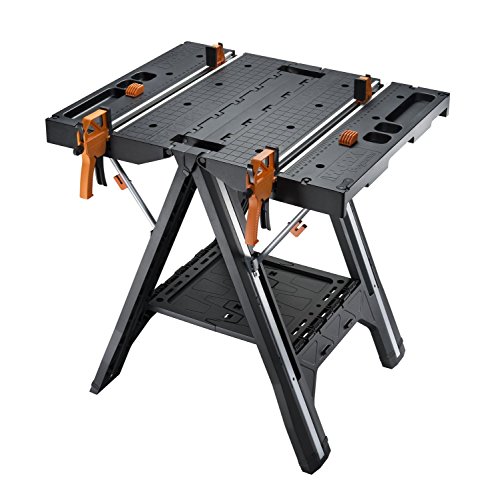
Step 1: Determine your needs and requirements
Building a sturdy and durable workbench starts by understanding your needs and requirements. Before you even start gathering materials or designing a plan, consider what you will be using the workbench for and how much weight it will need to support. Are you using it for woodworking, metalworking, or general assembly tasks? Will you be storing heavy tools or equipment on the bench? This initial step will help ensure that your workbench is strong enough to handle the tasks you have in mind.
Step 2: Determine the dimensions and design
Once you know your needs, you can determine the dimensions and design of your workbench. Consider the available space in your workshop or garage and how the workbench will fit into that area. Think about the height of the bench and whether you want it to be adjustable or fixed. Determine how many legs and supports your workbench will have based on the weight it needs to support. Sketch out a rough design or look for pre-designed plans online that fit your requirements.
Step 3: Gather the necessary materials and tools
With your design in hand, it’s time to gather the necessary materials and tools. The specific materials and tools will depend on your design, but some common items you may need include:
- Lumber for the benchtop and legs
- Screws or bolts for assembly
- Dowels or biscuits for added strength
- Wood glue
- Power drill or screwdriver
- Saw
- Measuring tape
- Clamps
Make a list of everything you need and gather them before you start building to ensure a smooth process.
Step 4: Build the frame and attach the legs
Now that you have all the necessary materials and tools, it’s time to start building your workbench. Begin by constructing the frame using the lumber and screws or bolts. The frame will act as the basic structure and support for your workbench. Ensure that all your measurements are accurate and use clamps to hold the pieces together as you assemble.
Next, attach the legs to the frame according to your design. You may need to reinforce the joints with dowels or biscuits for added strength. Make sure the legs are securely attached and use a level to ensure they are straight and even.
Step 5: Attach the benchtop and finish the workbench
After the frame and legs are in place, it’s time to attach the benchtop. Depending on your design, you may need to cut the benchtop to size and shape using a saw. Attach the benchtop to the frame using screws or bolts, ensuring that it is level and securely fastened.
Finally, finish the workbench by sanding down any rough edges and applying a protective finish. This could be paint, stain, or varnish, depending on your preference and the type of wood you are using. The finish will help protect the workbench from moisture, stains, and daily wear and tear.
By following these steps, you can build a sturdy and durable workbench that will provide a solid foundation for all your projects. Remember to take your time, measure accurately, and use quality materials to ensure the longevity of your workbench.


