Step-by-Step Guide: Cleaning Your Baby Walker
Baby walkers are an essential tool for parents to help their little ones learn to walk. However, as babies explore their newfound mobility, they can leave behind a trail of mess and dirt on the walker. To ensure your baby is safe, healthy, and clean, follow these simple steps to clean your walker.
Step 1: Disassemble the Baby Walker
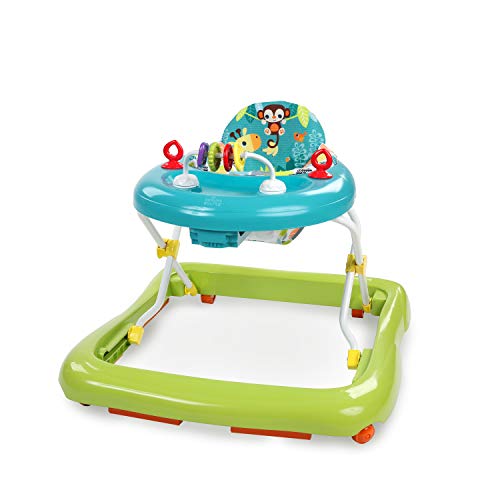
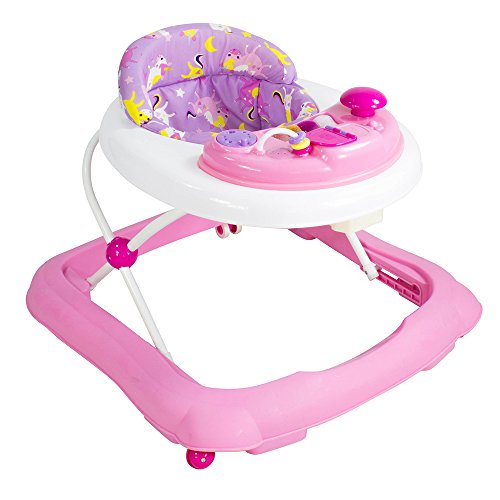
The first step is to disassemble the walker. Remove the seat cover, toys, and any other detachable parts. If possible, check the product manual to ensure you’re cleaning each part correctly.
Step 2: Clean the Toys and Attachments
During playtime, toys and attachments can accumulate dirt and grime. To clean them, use a non-toxic cleaning solution and a brush. Rinse them with warm water and let them air dry. Avoid using bleach or harsh chemicals altogether when cleaning the toys.
Step 3: Wash the Seat Cover
The seat pad is where your baby spends most of their time while using the walker. For hygiene purposes, it is essential to clean the seat cover regularly. Remove the cover and wash it using mild detergent and cold water. Air dry it before reassembling it to the walker.
Step 4: Sanitize the Frame and Wheels
After dismantling and cleaning the removable parts, it’s time to clean the frame and wheels. Use a damp cloth and a mild soap solution to wipe the frame and wheels. Sanitize them with a disinfectant spray or a mix of vinegar and water. Avoid using abrasive cleaning tools, as they may scratch or damage the surface.
Step 5: Reassemble the Baby Walker
Once everything is clean and dry, reassemble the walker. Ensure that all parts are in the right position and correctly fixed. Your baby now has a clean and safe walker to play and learn!