Introduction
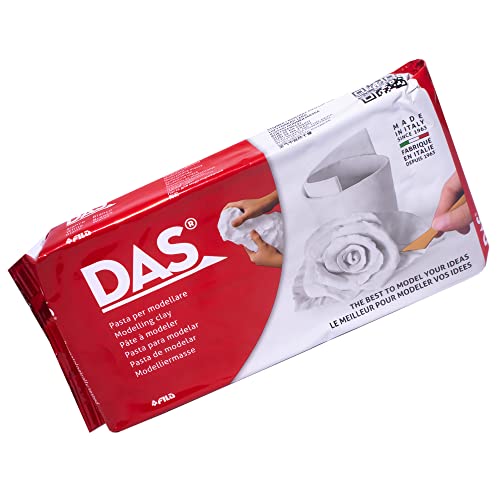
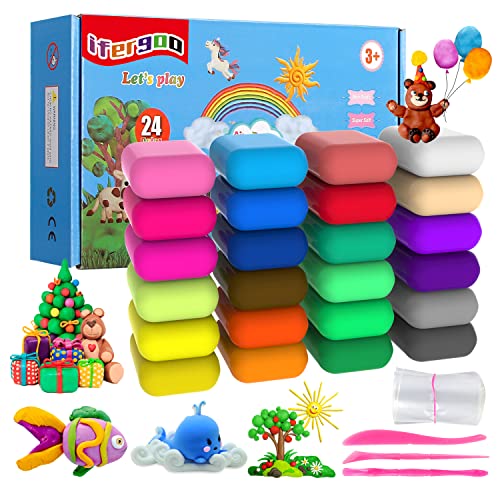
Modeling clay, also known as polymer clay, is a type of material that is soft and pliable. It can be molded into any shape, making it a versatile medium for various DIY projects. Whether you’re a beginner or an expert in crafting, working with modeling clay is an enjoyable activity that can help you unleash your creativity. Here are some unique DIY projects that you can try with modeling clay.
Clay Jewelry Dish
A clay jewelry dish is a practical yet beautiful way to store your rings, bracelets, and other pieces of jewelry. You can create one by molding the clay into a small dish, pressing your favorite stamp design onto the surface, and then baking it according to the manufacturer’s instructions. Once it’s done, you can add a coat of glaze for a shiny finish. It’s a perfect DIY project that can also be a lovely gift for your loved ones.
Clay Plant Pots
If you’re looking for a unique way to showcase your plants, you can create your own clay plant pots. Get creative with different colors and shapes to match your plant’s personality. Remember to make a hole at the bottom of the pot to let excess water escape. Once you’re happy with your design, bake the pot according to the instructions and wait for it to cool. Add your favorite plant, and you’re done!
Clay Keychains
Designing your own clay keychains is simple, and they can make a great accessory for your bag or keys. Use cookie-cutters or design your own shape, roll out the clay to your desired thickness, and then add your creativity to the surface. You can add texture, use stamps, or paint on the surface with acrylic paint. Once it’s dry, attach a keyring to the top with a piece of ribbon or string, and you’re ready to go.
Clay Photo Holders
You can create one-of-a-kind photo holders with your favorite polymer clay colors to display your cherished memories. Roll out the clay to a thickness of about ¼ inch, and then mold it into your desired shape, such as a heart or a square. To create a photo holder, make an indent at the top of the clay, and then bake the clay according to the instructions. Once it’s ready, insert a photo into the holder, and your unique photo holder is complete.