Upcycled Cardboard Toy Blocks
If you’re looking for a budget-friendly and eco-friendly DIY project, creating toy blocks out of upcycled cardboard is a fantastic option. Not only does it save you money, but it also gives new life to materials that would otherwise end up in the recycling bin or landfill.
To make your own upcycled cardboard toy blocks, you’ll need:
- Cardboard boxes
- A ruler
- A pencil
- A utility knife
- Decorative materials (optional)
Start by measuring and marking the dimensions of the blocks you want to create on the cardboard using the ruler and pencil. Then, use the utility knife to carefully cut out the pieces along the marked lines. Repeat this process for as many blocks as you want to make.
If you want to add some personalization to your blocks, now is the time to get creative. You can use markers, paints, or stickers to decorate the cardboard pieces with numbers, letters, or colorful patterns.
Finally, stack the cardboard pieces on top of each other to form the blocks. You can secure them together using non-toxic glue or tape. And just like that, you have your own set of upcycled cardboard toy blocks ready for playtime!
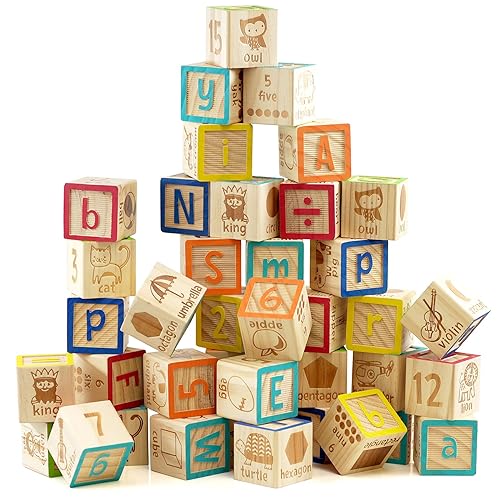
Wooden Building Blocks
If you prefer a more sturdy and long-lasting option, wooden building blocks are a classic choice. These blocks can be easily created using wooden boards, which you can find at your local hardware store.
To make your own wooden building blocks, you’ll need:
- Wooden boards
- A saw
- A sander
- Non-toxic paint or stain
- A paintbrush
Start by measuring and marking the dimensions of the blocks you want to create on the wooden boards. Then, use the saw to cut the boards into individual blocks along the marked lines. Make sure to sand the edges to remove any roughness or splinters.
Once you have your wooden blocks cut, you can choose to paint or stain them. This step is optional but can add a touch of color and appeal to the finished product. Use non-toxic paint or stain and let the blocks dry completely before allowing children to play with them.
Wooden building blocks provide endless opportunities for imaginative play and can be enjoyed by both children and adults alike.
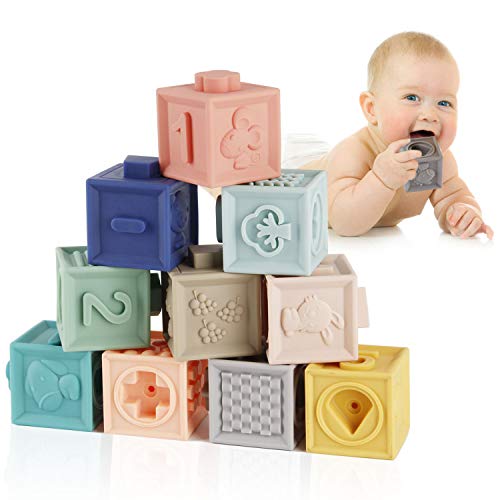
Fabric Covered Foam Blocks
If you’re looking for soft and lightweight toy blocks, fabric covered foam blocks are a great option. These blocks are perfect for younger children who are still developing their motor skills.
To make your own fabric covered foam blocks, you’ll need:
- Foam cubes
- Fabric (preferably cotton)
- A ruler
- A pen or fabric marker
- Scissors
- Non-toxic fabric glue or a sewing machine
Start by measuring and marking the dimensions of the foam cubes on the fabric using the ruler and pen. Then, cut out the fabric pieces along the marked lines. Make sure to add an extra inch on each side to account for the seam allowance.
Once you have the fabric pieces cut, you can either sew them together using a sewing machine or use non-toxic fabric glue to secure the corners and edges. If you choose to sew, make sure to leave one side open so you can insert the foam cube inside.
After the fabric is securely attached to the foam cube, trim off any excess fabric and sew or glue the remaining side closed. Now you have a set of soft and colorful fabric covered foam blocks that are safe for even the youngest aspiring architects.
Lego-Compatible Magnetic Blocks
If you have children who are fans of Lego, you can create your own Lego-compatible magnetic blocks to enhance their building experience.
To make your own Lego-compatible magnetic blocks, you’ll need:
- Magnetic building blocks (e.g., Mega Bloks)
- Small neodymium magnets
- Non-toxic glue
Start by attaching small neodymium magnets to the bottom of the magnetic building blocks using non-toxic glue. Make sure to follow the manufacturer’s instructions for gluing magnets securely.
Once the magnets are attached, allow the glue to dry completely. Now, your magnetic blocks are ready to be incorporated into your child’s Lego creations. The magnets will allow the Lego-compatible blocks to stick together, adding a new level of versatility and creativity to their building projects.
Felt Shapes and Velcro Blocks
If you’re looking for a softer and more interactive option, felt shapes and Velcro blocks are a fun DIY project that can provide hours of entertainment for your little ones.
To make your own felt shapes and Velcro blocks, you’ll need:
- Felt sheets
- Fabric scissors
- Velcro strips
- Non-toxic fabric glue
Start by cutting out various shapes from the felt sheets using fabric scissors. You can create squares, triangles, circles, or any other shape that sparks your child’s imagination.
Once you have the felt shapes cut, attach small pieces of Velcro to the back of each shape using non-toxic fabric glue. Make sure to use both the hook and loop sides of the Velcro so that the shapes can easily stick together.
Allow the glue to dry completely, and now you have a set of felt shapes and Velcro blocks that your children can use to build and create their own unique designs. The Velcro provides an extra element of fun and allows the blocks to stick together easily.
With these DIY ideas, you can create your own toy blocks that are not only fun to play with but also customizable to suit your child’s interests and preferences. Whether you choose to upcycle cardboard, work with wood, or experiment with different materials, the possibilities for creativity and play are endless.