Understanding the Basics of a Ruler
A ruler is a basic tool used for measurement in various fields such as science, engineering, construction, and crafts. It consists of a straight strip of material usually marked with units of measurement. The most common type of ruler is the traditional wooden ruler with markings in centimeters (cm) and/or inches (in). To use a ruler effectively, you need to understand its basic features and markings.
Step-by-Step Guide on Using a Ruler
Using a ruler is a simple process, but it requires attentiveness and accuracy. Here’s a step-by-step guide on how to use a ruler for measurement:
Select the Appropriate Ruler
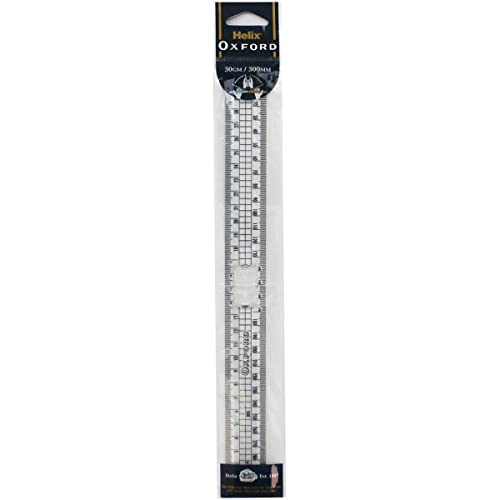
There are various types of rulers available, with different lengths and units of measurement. Choose a ruler that suits the size of the object being measured and the required units. Common ruler lengths include 15 cm, 30 cm, and 12 inches.
Align the Ruler
Place the ruler on a flat surface, ensuring that it is parallel to the object or line being measured. Align one end of the ruler with the starting point of the measurement.
Read the Measurements
Look closely at the markings on the ruler. Each unit of measurement is typically represented by a longer line, accompanied by shorter lines that indicate fractions or subdivisions of that unit. For example, on a centimeter ruler, the longer lines represent each centimeter, while the shorter lines represent millimeters.
Estimate Between Marks
Not all measurements will align perfectly with the marks on the ruler. In such cases, you may need to estimate the measurement by visually determining the position between two marks. It is important to be as accurate as possible in your estimation.
Make the Measurement
To measure the length of an object, place the ruler adjacent to it, ensuring that the starting point is aligned correctly. Read the measurement at the end of the object or line being measured. If necessary, use a straight-edge to extend the object visually to the end of the ruler for an accurate measurement.
Tips for Accurate Measurements
Using a ruler for accurate measurements requires attention to detail. Here are a few tips to ensure precision:
Use Proper Lighting
Ensure that you have sufficient lighting to clearly see the ruler’s markings and the object being measured. Shadows or low-light conditions may lead to errors in measurement reading.
Use the Correct Units
Understand the units of measurement indicated on the ruler and ensure that they match the requirements of your project or task. Using the wrong units can result in inaccuracies.
Use a Steady Hand
Hold the ruler firmly and position it steady to avoid any unintentional movement or bending. A shaky hand or ruler movement can affect the accuracy of the measurement.
Double-Check Your Measurement
After making a measurement, double-check the result to ensure accuracy. Mistakes can happen, so it is advisable to confirm your measurement before proceeding with any calculations or decisions based on it.
A ruler is a simple yet essential tool for precise measurements. By understanding the basics of a ruler and following the step-by-step guide provided, you can effectively use a ruler for various measurement tasks. Remember to be attentive to detail, use proper lighting, and check your measurements for accuracy to ensure reliable results.