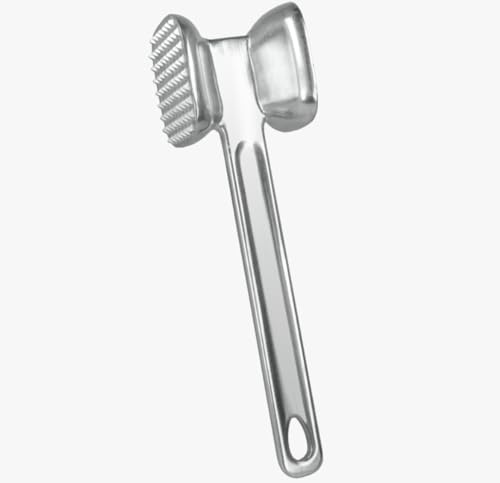
Replacing a hammer handle is a straightforward process that anyone can do with the right tools and a little bit of patience. Whether your hammer handle is worn out, broken, or you simply want to upgrade to a different material, this guide will provide you with step-by-step instructions on how to replace a hammer handle.
Gather the necessary tools and materials
Before you begin, make sure you have all the tools and materials you will need to replace your hammer handle. These include:
- A replacement hammer handle
- A hammer
- A saw
- A rasp or file
- A bench vise
- Epoxy adhesive
- A clamp
Once you have gathered all the necessary tools and materials, you are ready to move on to the next step.
Remove the old hammer handle
To remove the old hammer handle, start by placing the hammer head in a bench vise with the handle facing up. Use a saw to cut off the old handle just below the hammer head. Then, use a rasp or file to remove any remaining pieces of the handle and smooth out the area where the new handle will be inserted.
Prepare the new hammer handle
Before inserting the new hammer handle, you may need to make some adjustments to ensure a proper fit. Begin by measuring the length of the old handle and marking the same length on the new handle. Use a saw to cut off any excess length, if necessary. Next, use a rasp or file to shape the end of the handle to match the shape of the hole in the hammer head. This will ensure a snug fit and prevent any wobbling or instability.
Insert the new hammer handle
Once the new handle is prepared, it is time to insert it into the hammer head. Apply epoxy adhesive to the end of the handle and inside the hole in the hammer head. This will create a strong bond and prevent the handle from coming loose during use. Insert the handle into the hole and tap it gently with a hammer to ensure a secure fit. Use a clamp to hold the handle in place while the epoxy adhesive cures, following the manufacturer’s instructions.
Test and finish
After the epoxy adhesive has fully cured, remove the clamp and give the hammer a few test swings to ensure that the handle is securely attached. If everything looks good, you can finish the handle by sanding down any rough edges and applying a coat of varnish or paint to protect the wood and give it a polished appearance.
By following these steps, you can easily replace a hammer handle and get your tool back in working order. Remember to take your time and work safely to avoid any injuries. Now that you know how to replace a hammer handle, you can confidently tackle this DIY project whenever needed.


