Prepare the necessary tools
Before you begin removing the hood light cover, gather the necessary tools and materials. You will typically need a screwdriver, pliers, or a socket wrench depending on the type of fasteners used to secure the cover. Additionally, you may need a flashlight or work light to provide better visibility under the hood.
Locate the mounting screws or clips
Take a moment to locate the mounting screws or clips holding the hood light cover in place. These can usually be found on the sides or towards the front of the cover. If you are unable to locate them, consult the vehicle’s owner’s manual for specific instructions.
Unscrew or unclip the cover
Using the appropriate tool, start unscrewing the mounting screws or unclipping the cover. If screws are used, turn them counterclockwise to loosen and remove them. If clips are used, gently pry them open with a screwdriver or use pliers to release them. Be careful not to apply too much force and potentially damage the cover.
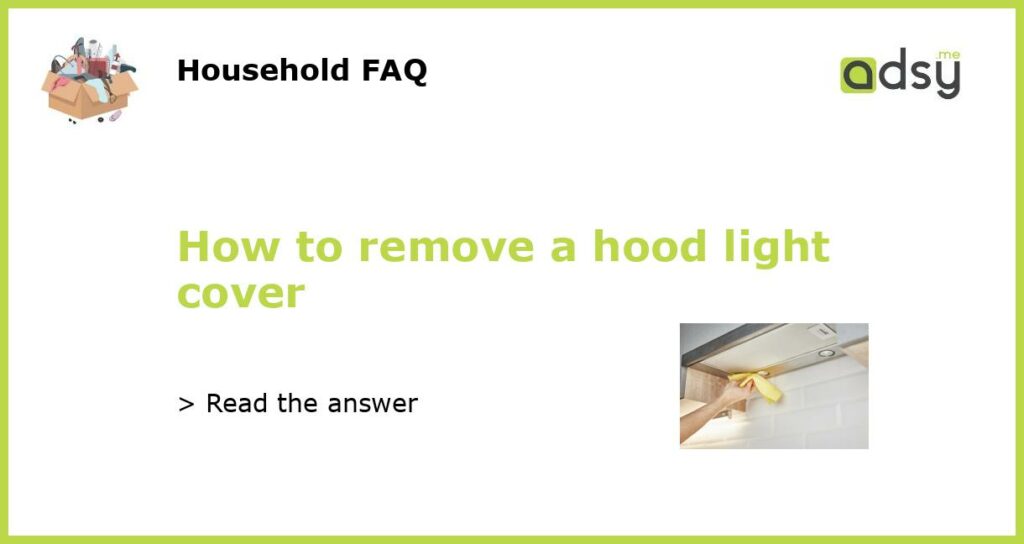
Remove the cover
Once the mounting screws or clips have been loosened or removed, carefully lift the hood light cover. Depending on the design, it may slide out or hinge open. Take note of any wires or connectors attached to the cover, as you will need to detach them before completely removing the cover.
Disconnect any wires or connectors
If your hood light cover is equipped with any wires or connectors, carefully disconnect them before fully removing the cover. Take a moment to inspect how they are connected to the cover and follow the appropriate steps to safely detach them. Be cautious not to damage the wires or connectors during this process.