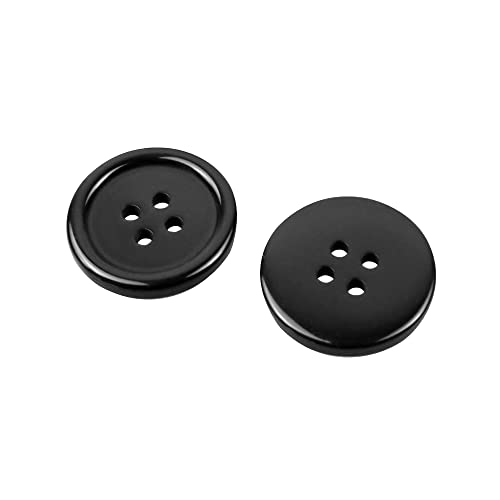
A Simple Guide on How to Remove a Clothes Button
Buttons are an essential part of any garment, providing not only a functional purpose but also a decorative one. However, it is not uncommon to accidentally break or damage a button, leaving you in need of a replacement. In this guide, we will take you step-by-step through the process of safely removing a clothes button, so you can replace it with ease.
Gather Your Tools and Materials
Before you begin, it is important to have the necessary tools and materials on hand. You will need a small sharp scissors or seam ripper, tweezers, and a replacement button. Make sure to choose a replacement button that matches the style, size, and color of the original button.
Remove Button Carefully
First, turn the garment inside out, so you can better access the back of the button. Using the small scissors or seam ripper, carefully cut the threads holding the button in place. Take care not to cut through the fabric. Once you have cut all the threads, use the tweezers to gently pull the button off the garment.
Clean the Area and Sew on a Replacement Button
After removing the old button, use the tweezers to pick off any remaining threads or fabric pieces. Thread a needle with a strong thread that matches the original color of the garment. Then, sew the replacement button in place, using the same holes left by the previous button. Make sure the button is securely fastened and the thread is tightened enough to keep it in place. Finally, tie off the thread and trim any excess.
Care Tips for Your Newly Repaired Garment
Congratulations, you have successfully removed and replaced a clothes button! To ensure the longevity of your newly repaired garment, be sure to follow care instructions on the label. Avoid using excess heat when washing or drying, and consider hand washing or dry cleaning delicate items. With proper care, your garment will continue to look great for many wears to come.


