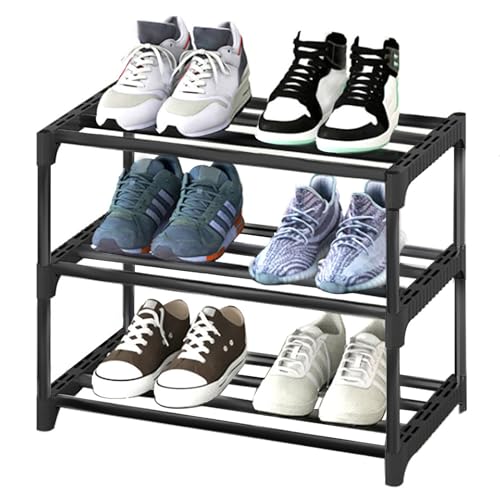
Determine the size and design of your shoe rack
Before you start building a shoe rack for your garage, you need to determine the size and design that will work best for your space. Consider the number of shoes you have and how much wall or floor space you have available. A wall-mounted shoe rack can be a great space-saving option, while a freestanding rack can offer more storage capacity. Once you have the dimensions and design in mind, you can move on to the next steps.
Gather the necessary materials and tools
Once you have your shoe rack design finalized, it’s time to gather the necessary materials and tools. The materials you’ll need will depend on the design you choose, but a basic shoe rack can be made with some wood boards, screws, and paint or stain. You may also need a saw, drill, measuring tape, and sandpaper. Make sure you have everything you need before you start building.
Cut and prepare the wood boards
Using the measurements from your design, use a saw to cut the wood boards to the appropriate lengths. If you don’t have a saw or are uncomfortable using one, many hardware stores can cut the boards for you at no extra cost. Once the boards are cut, use sandpaper to smooth any rough edges or surfaces.
Assemble the shoe rack
Now it’s time to assemble the shoe rack. Start by laying out the boards according to your design and aligning them properly. Use a drill to pre-drill holes for the screws to prevent the wood from splitting. Then, use screws to attach the boards together. Make sure the screws are tight and secure. If you’re building a wall-mounted shoe rack, make sure to use appropriate anchors for added stability.
Finish and install the shoe rack
Once the shoe rack is assembled, you can finish it with paint or stain to protect the wood and give it a polished look. Choose a finish that matches your garage’s aesthetic and allows the shoes to stand out. After the finish has dried, you can install the shoe rack in your garage. If it’s a freestanding rack, simply place it in the desired location. If it’s a wall-mounted rack, use appropriate screws and anchors to securely attach it to the wall.