Materials Needed
To make a scrunchie from scratch, you will need a few materials:
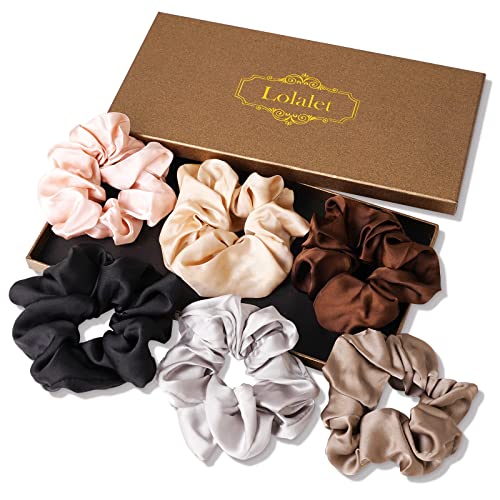
- Fabric – Choose a fabric of your choice. Cotton or satin are popular choices for scrunchies.
- Elastic – Make sure to use thin elastic that will fit comfortably around your hair.
- Thread – Use a thread color that matches your fabric.
- Sewing Machine or Needle – Depending on your preference, you can use a sewing machine or sew by hand.
- Pins – These will come in handy for securing the fabric in place while sewing.
- Scissors – Use a pair of sharp scissors to cut the fabric and elastic.
- Measuring Tape – This will help you determine the length of the fabric and elastic needed.
Cutting the Fabric
Start by measuring and cutting your fabric. The standard dimensions for a scrunchie are 4 inches wide and 22 inches long. However, you can adjust these measurements based on your personal preference. If you want a smaller or larger scrunchie, simply adjust the width and length accordingly.
Once you have determined the dimensions, use your measuring tape and scissors to cut the fabric to size. Make sure to cut it in a straight line to ensure a clean look.
Sewing the Fabric
With the fabric cut, fold it in half lengthwise, with the right sides facing each other. Pin the edges together to secure them in place.
Using a sewing machine or a needle and thread, sew along the long edge of the fabric, leaving a small opening at one end. This will allow you to turn the fabric right side out once it’s sewn.
When sewing, use a straight stitch or a zigzag stitch to ensure a sturdy seam. Backstitch at the beginning and end of the seam to reinforce it.
Adding the Elastic
With the fabric sewn together, it’s time to add the elastic. Attach a safety pin to one end of the elastic and thread it through the small opening in the fabric.
As you pull the elastic through, make sure to keep the other end secured so that it doesn’t get lost inside the scrunchie. Once the elastic is fully threaded through, overlap the ends by about an inch and sew them together securely.
After the elastic is sewn together, pull the fabric over the sewn ends to cover them completely. It should now look like a tube with the elastic enclosed inside.
Finishing Touches
To complete your homemade scrunchie, sew the small opening closed using a hidden stitch. Be careful to match the thread color with the fabric to create an invisible seam.
Once the opening is sewn shut, give your scrunchie a final press with a hot iron to remove any wrinkles and flatten the seams. This will give it a polished look.
Your handmade scrunchie is now ready to wear and enjoy! Experiment with different fabrics and patterns to create a collection of personalized scrunchies for yourself or to give as gifts to friends and family.