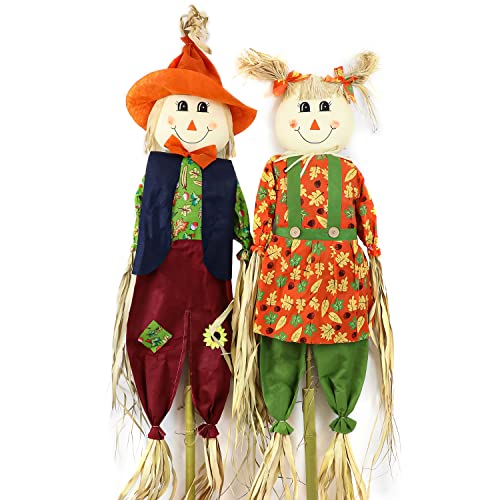
Choose the Right Materials for Your Scarecrow
When making a scarecrow for your garden, it’s important to choose the right materials. Start by selecting a sturdy pole or stick for the body of your scarecrow. This will serve as the backbone of your creation. You can use materials like bamboo, wooden dowels, or even old broom handles. Make sure the pole is long enough to stand firmly in the ground and tall enough to be seen from a distance.
For the head, you can use a variety of materials depending on the look you want to achieve. A traditional scarecrow head can be made from a burlap sack or an old pillowcase stuffed with straw or newspaper. Alternatively, you can use a plastic Halloween pumpkin or even a painted gourd. Get creative and choose something that fits your personal style and the overall theme of your garden.
Create the Body and Frame of Your Scarecrow
Once you have gathered your materials, it’s time to assemble the body and frame of your scarecrow. Begin by attaching the pole to a sturdy base or stand, such as a wooden cross or a tripod made from additional poles. This will help anchor the scarecrow and prevent it from falling over in the wind.
Next, attach the head to the top of the pole. If you’re using a burlap or pillowcase head, secure it with twine or zip ties. If you’re using a plastic pumpkin or gourd, use hot glue or screws to attach it securely to the top of the pole.
Once the head is in place, it’s time to add the arms. You can use long sticks or branches for this purpose. Attach them to the sides of the pole, either by tying them with twine or using zip ties. Position them in a natural-looking way, as if the scarecrow is reaching out to protect the garden.
Dress Your Scarecrow Appropriately
Dressing your scarecrow is not only fun but also essential for its effectiveness. Choose old clothes that you don’t mind getting dirty or that you can easily replace if necessary. Remember, the goal is to make your scarecrow look like a real person from a distance, so be creative with your outfit selection.
To make the scarecrow look more realistic, you can stuff the clothes with hay or straw. This will give it a more full-bodied appearance and help it withstand the elements. Start by stuffing the pants and shirt, and then secure the ends with twine or zip ties. This will prevent the stuffing from falling out over time.
Add the Finishing Touches
Once you have dressed your scarecrow, it’s time to add the finishing touches. This is where you can really let your creativity shine. Consider adding accessories like a hat, scarf, or even a pair of gloves. Use your imagination and think about what would make your scarecrow stand out in the garden.
You can also enhance the scarecrow’s appearance by painting a face on the burlap or pillowcase head. Use non-toxic paint and create features like eyes, a nose, and a mouth. This will make the scarecrow look more intimidating and help keep pests away from your garden.
Install Your Scarecrow in the Garden
Once your scarecrow is complete, it’s time to install it in the garden. Find a spot where it will be clearly visible to both birds and other pests. Ideally, you’ll want to place it in an open area where it can sway in the wind. This movement will further enhance its deterrent effect.
Drive the pole firmly into the ground, making sure it is stable and secure. Check the scarecrow regularly to ensure it remains in good condition. Over time, you may need to make adjustments or repairs to keep it looking its best and effectively protecting your garden.