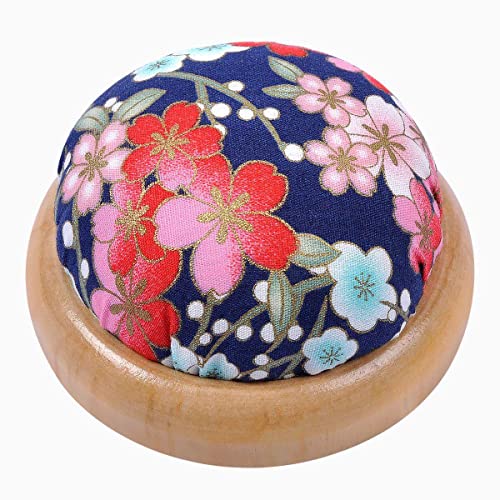
Gather your materials
To make a pincushion with embroidery, you will need a few basic materials:
- Fabric for the main body of the pincushion
- Embroidery floss
- Embroidery needle
- Polyester fiberfill or stuffing
- Scissors
- Pins
Choose your design
Before you start, you’ll need to decide on the design for your pincushion. This could be a simple pattern, a monogram, or even a small picture. You can find inspiration for embroidery designs on websites like Pinterest or DMC.
Prepare the fabric
Next, you’ll want to cut two pieces of fabric into your desired pincushion shape. This can be a traditional square or rectangle, or you can get creative and choose a unique shape. Remember to leave a seam allowance when cutting your fabric.
Embroider the design
Once you have your fabric pieces ready, it’s time to start the embroidery. Thread your embroidery needle with your chosen colored floss and begin stitching your design onto one of the fabric pieces. You can use different embroidery stitches like backstitch or satin stitch to create different effects.
Assemble the pincushion
When you’re finished with the embroidery, place the two fabric pieces together, right sides facing each other. Pin the pieces together, leaving a small opening for turning and stuffing. Using a sewing machine or hand stitching, sew around the edges, leaving a small opening. Trim the excess fabric and turn the pincushion right side out.
Finally, stuff the pincushion with polyester fiberfill or stuffing until it is firm but not overstuffed. Hand stitch the opening closed, and your pincushion is ready to use!