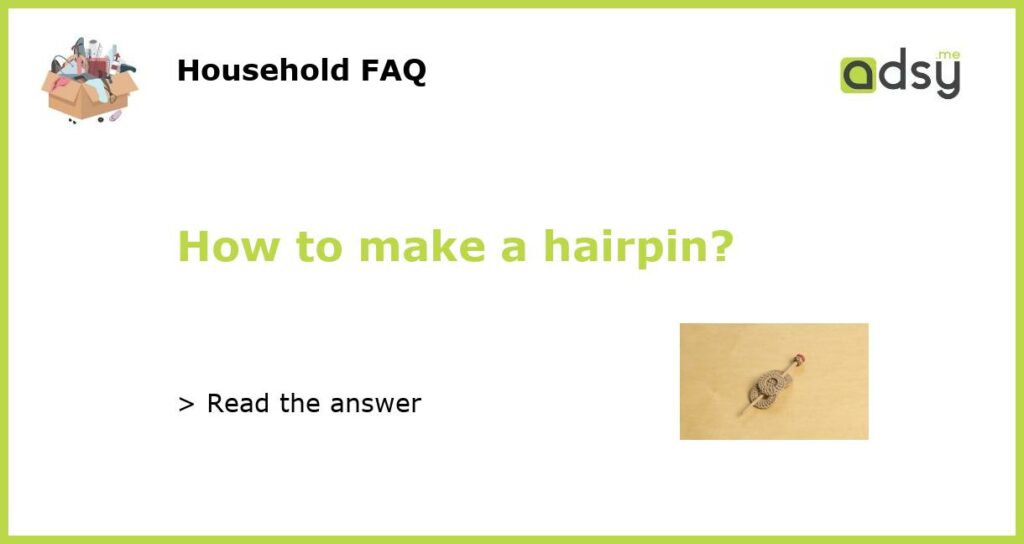
Step-by-step guide on how to make a hairpin
Are you tired of buying hair accessories and want to try making one on your own? Making your hairpin can be a fun and cost-effective way to have a unique accessory for your hair. Here is a step-by-step guide on how to make a hairpin.
Gather the necessary materials
Before starting, gather the necessary materials. You will need a hairpin blank, which can be bought from craft stores or online shops. You also need embellishments such as beads, sequins, or flowers, hot glue gun, and scissors.
Design your hairpin
Choose the design and color you want for your hairpin. You can look for inspiration on websites like Pinterest or Etsy. Once you have decided on the design, prepare the embellishments by trimming them to the right size and shape to fit the hairpin’s blank.
Assemble the hairpin
Using a hot glue gun, start attaching the embellishments onto the hairpin blank. Make sure to hold the ornaments in place for a few seconds to let the glue adhere to the hairpin. Repeat the process until you achieve the desired look.
Secure the embellishments to the hairpin blank
Use scissors to trim any excess glue and let the hot glue cool down for a few minutes. Check the embellishments and add additional glue if necessary to secure them to the hairpin. Once the glue has dried, your custom-made hairpin is ready to use!


