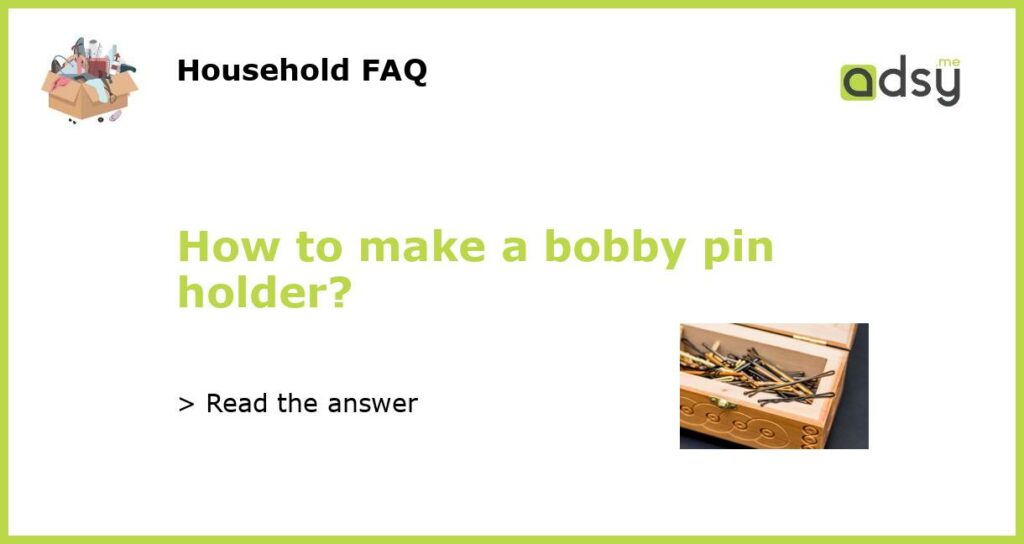
5 Simple Steps to Make a DIY Bobby Pin Holder
Bobby pins are essential hair accessories that every girl uses daily. They help us style our hair the way we want, whether it’s a simple ponytail or an elaborate updo. However, the downside of using bobby pins is that they tend to get lost easily, leading to frustration and constant replacement. This is where a DIY bobby pin holder comes in handy. In this article, we’ll show you how to make one in just five simple steps.
Step 1: Gather Your Materials
The first step in making your own bobby pin holder is to gather all the necessary materials. You’ll need a small plastic container, such as a pill bottle or a spice jar, some fabric or paper scraps, glue, scissors, and of course, your bobby pins.
Step 2: Cut and Glue the Fabric or Paper
Next, cut a piece of fabric or paper that will fit the size of the container. You can use any scrap material you have lying around or choose a design that you like. Using glue, attach the fabric or paper to the outside of the container.
Step 3: Add Some Style
If you want to make your bobby pin holder more stylish or personalized, you can add some extra embellishments to it. For example, you could add some beads, sequins, or glitter to the fabric or paper. This step is optional but can make your holder look more eye-catching.
Step 4: Fill the Container with Bobby Pins
Once the glue has fully dried, it’s time to fill up your bobby pin holder with your collection of bobby pins. You can also add other hair accessories, such as hair ties or hair clips, if you have some that you want to store.
Step 5: Use and Enjoy!
Finally, it’s time to start using your DIY bobby pin holder. You can now store all your bobby pins in one place, preventing them from getting lost or creating a mess. It’s also easy to travel with, so you can take it with you wherever you go. Plus, it’s a fun and easy craft project that you can do in just a few minutes!


