Choose the Right Toothbrush Holder for Your Bathroom
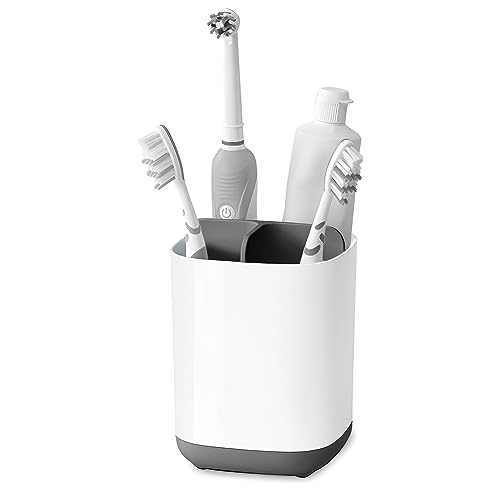
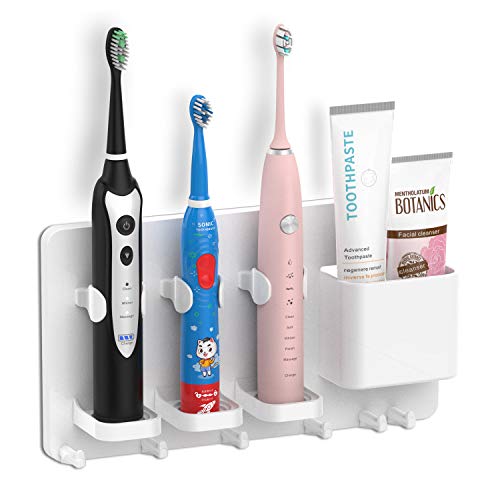
Installing a toothbrush holder may seem like a simple task, but it requires some thought and planning. The first step is to choose the right toothbrush holder for your bathroom. Consider the size and style of your bathroom, as well as your personal preferences. There are various types of toothbrush holders available, including wall-mounted holders, countertop holders, and suction cup holders. Take into account the number of toothbrushes you need to store and any additional features you may want, such as a separate compartment for toothpaste or a built-in toothbrush sterilizer.
Determine the Installation Location
Once you have chosen the right toothbrush holder for your bathroom, the next step is to determine the installation location. Ideally, the toothbrush holder should be easily accessible and conveniently placed near the sink. Take into consideration the overall layout of your bathroom and the available wall or countertop space. Look for a clean, dry surface that is free from obstructions. Remember to avoid placing the toothbrush holder near the toilet or any other unsanitary areas.
Prepare the Surface for Installation
Before installing the toothbrush holder, it’s important to prepare the surface. This will ensure a strong and secure installation. Start by cleaning the surface thoroughly to remove any dirt, dust, or grease. You can use a mild soap or detergent and a soft cloth or sponge. Dry the surface completely to prevent any moisture from interfering with the adhesive or mounting process. If you are installing a wall-mounted toothbrush holder, use a level to ensure that the surface is straight and aligned.
Install the Toothbrush Holder
The installation process will vary depending on the type of toothbrush holder you have chosen. Here are some general guidelines for common types of toothbrush holders:
– Wall-Mounted Holder: Use screws or adhesive strips to attach the holder to the wall, following the manufacturer’s instructions. Use a level to ensure that the holder is straight and aligned.
– Countertop Holder: Simply place the holder on the desired location on your countertop. Make sure it is stable and secure.
– Suction Cup Holder: Moisten the suction cup with water, then press it firmly against a clean and smooth surface. Make sure there are no air bubbles trapped underneath the suction cup.
No matter which type of toothbrush holder you are installing, make sure to double-check its stability and ensure that it can securely hold the weight of your toothbrushes.
Test and Adjust as Needed
After installing the toothbrush holder, it’s important to test its functionality and make any necessary adjustments. Place your toothbrushes in the holder and make sure they fit properly and are easy to access. If needed, adjust the position of the holder or make additional changes to ensure optimal usage. Take a moment to admire your newly installed toothbrush holder and enjoy the convenience it brings to your daily oral hygiene routine.