Understanding the Problem
If you have a pair of hinged pliers that are not working properly because of loose joints, it can be frustrating and hinder your ability to complete tasks effectively. However, before you can fix the problem, it’s important to understand what is causing the joints to be loose in the first place.
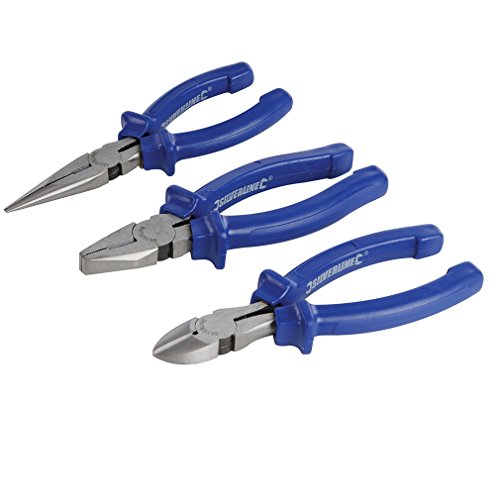
Hinged pliers typically have a pivot point where the two handles meet. Over time, this pivot point can become worn or damaged, resulting in loose joints. Additionally, excessive force or misuse of the pliers can contribute to the problem.
When the joints are loose, the pliers may not function as intended. They may not grip objects firmly or may have a wobbly movement that compromises their usefulness.
Tightening the Pivot Point
In many cases, the solution to fixing loose joints on hinged pliers is to tighten the pivot point. Here are the steps to do this:
- Step 1: Check if the pivot point has a bolt or screw. If it does, use a screwdriver or wrench to tighten it. Be careful not to overtighten, as this could cause damage.
- Step 2: If there is no visible bolt or screw, the pivot point may be held together by a pin or rivet. In this case, you can try tapping the pin or rivet gently with a hammer to tighten it. Again, be cautious not to use excessive force.
- Step 3: If tightening the pivot point doesn’t work, you may need to replace the pin or rivet with a new one. This can be done by purchasing a replacement pin or rivet from a hardware store and following the manufacturer’s instructions.
Lubricating the Joints
Another possible solution for loose joints on hinged pliers is to lubricate the joints. This can help reduce friction and improve the pliers’ functionality. Here’s how you can do it:
- Step 1: Clean the joints with a cloth or brush to remove any dirt or debris.
- Step 2: Apply lubricant to the pivot point and other moving parts of the pliers. You can use a general-purpose lubricant such as WD-40 or a silicone-based lubricant.
- Step 3: Move the pliers back and forth to distribute the lubricant evenly.
This should help alleviate the looseness in the joints and make the pliers operate more smoothly. However, keep in mind that lubrication is a temporary fix, and you may need to repeat the process periodically.
Reinforcing the Joints
If tightening the pivot point and lubricating the joints haven’t resolved the issue, you can consider reinforcing the joints to add stability. Here’s how:
- Step 1: Identify the area where the joints are particularly loose or wobbly.
- Step 2: Use a thin strip of metal, such as a brass shim or aluminum can, to wrap around the joint area.
- Step 3: Secure the strip of metal in place with a strong adhesive or by drilling small holes and attaching it with screws or rivets.
- Step 4: Allow the adhesive to dry or tighten the screws/rivets until the joint is reinforced.
This method can provide additional stability to the joints and extend the lifespan of your hinged pliers.
Seeking Professional Help
If all else fails or if you are uncomfortable attempting the repairs yourself, it may be best to seek professional help. A professional tool repair service or a knowledgeable locksmith can assess the condition of your hinged pliers and provide the necessary repairs or replacements.
Keep in mind that professional help may come at a cost, but it can ensure that your pliers are fixed correctly and that they will last for a long time.
By understanding the problem, tightening the pivot point, lubricating the joints, reinforcing the joints, or seeking professional help, you can fix loose joints on hinged pliers and restore their functionality. With the right approach, you can get your pliers back in working order and tackle your tasks with ease.