What is a pastry bag?
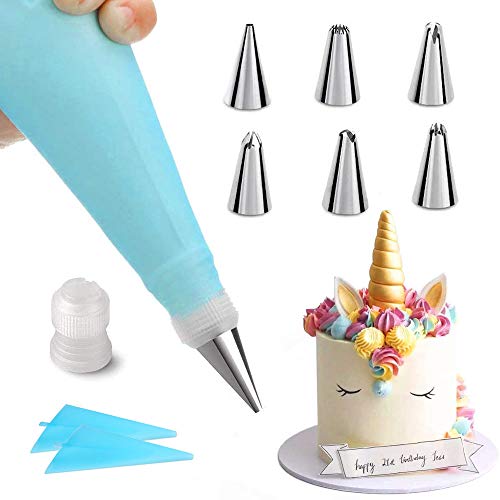
A pastry bag is a tool that is commonly used in baking and pastry-making. It is a cone-shaped bag made of cloth, plastic, or silicone, with a small opening at its tip. Pastry bags are used for piping various types of dough, batter, icing, and frosting onto cakes, cupcakes, cookies, and other desserts. They allow for greater control and precision when decorating and filling pastries.
Step 1: Prepare the bag
Before filling the pastry bag, it is important to prepare it properly. Start by selecting the appropriate size of tip for your desired piping task. There are various types of tips available, each creating a different piping effect. Attach the tip securely to the end of the pastry bag by screwing it or using a coupler, depending on the type of bag you have.
Once the tip is attached, fold down the top of the bag about halfway, creating a cuff. This will prevent any mixture from spilling out of the top of the bag as you fill it. Hold the bag with one hand, grasping the folded cuff tightly, and use the other hand to fill the bag with your desired mixture.
Step 2: Fill the bag
To fill the pastry bag, hold it open with one hand and use a spoon, spatula, or piping bag filling tool to transfer the mixture into the bag. Be careful not to overfill the bag, as this can cause the mixture to squeeze out of the top. It is recommended to fill the bag no more than two-thirds full.
If you are working with a particularly thick or dense mixture, such as stiff royal icing or cold buttercream, you may find it easier to fill the bag using a piping bag stand or a tall glass. Simply place the bag into the stand or glass, with the tip facing down, and fill it with the mixture using your spoon or spatula.
Step 3: Twist and hold
Once the bag is filled, twist the top of the bag closed with your hand. This will create pressure and help prevent the mixture from coming out of the top while you are piping. Hold the twisted part of the bag tightly with your hand to maintain control and stability during piping.
Step 4: Start piping
To start piping, hold the bag at a 45-degree angle to your surface. Squeeze the bag gently from the top with your dominant hand and guide the tip with your other hand. Apply even pressure to the bag to ensure a consistent flow of the mixture. If you need to stop piping, release the pressure on the bag and lift the tip away from the surface before continuing.
Step 5: Practice and experiment
Filling a pastry bag takes practice and patience. It is important to experiment with different pressures, angles, and speeds to achieve the desired piping effects. Start by practicing on a piece of parchment paper or a silicone baking mat before moving on to your actual desserts. With time and practice, you will become more comfortable and confident in your piping skills.