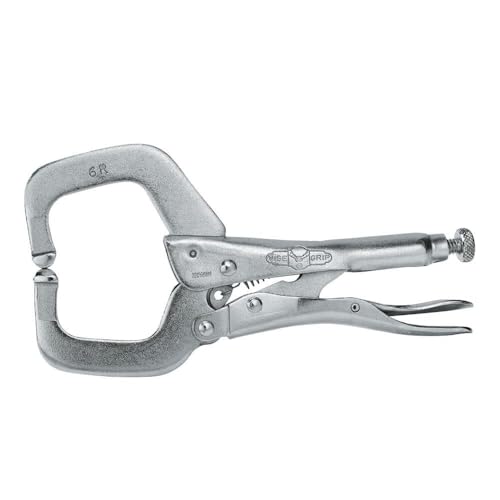
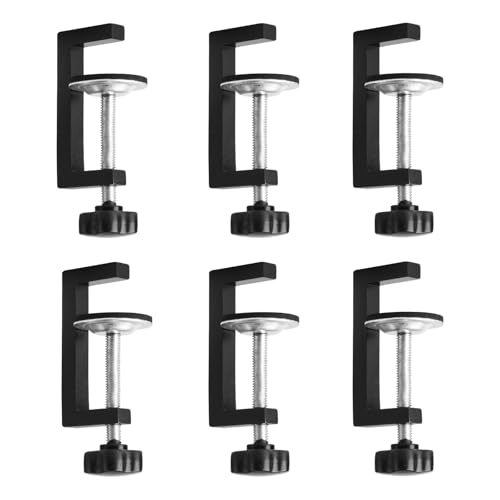
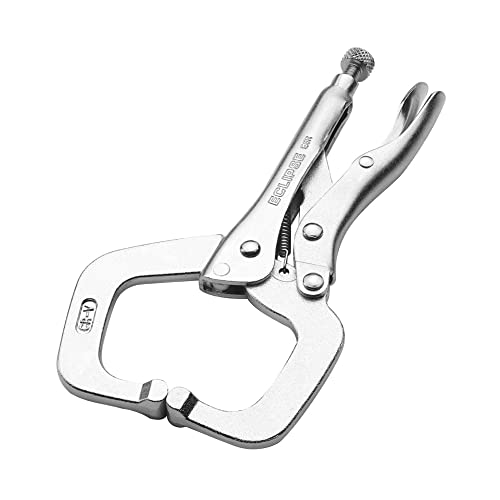
C-clamps, also known as G-clamps, are essential tools for any DIY or professional mechanic. They are used to hold pieces of metal, wood, or plastic in place, making it easier to drill, sand, cut, or weld them. However, like any other tool, C-clamps need proper maintenance to function efficiently and last for a long time. In this article, we will discuss how to clean and maintain a C-clamp.
Step 1: Cleaning
The first step in maintaining a C-clamp is to clean it thoroughly. Start by wiping any debris, dust, or grease off the clamp using a clean cloth or paper towel. Next, submerge the clamp in a bowl of warm water mixed with mild soap or dish detergent. Scrub the clamp gently with a soft-bristled brush, making sure to reach all the parts, including the threads and jaws. Rinse the clamp with clean water and pat dry with a towel. Avoid using harsh chemicals, abrasive cleaners, or steel wool, as they may damage the clamp’s finish.
Step 2: Inspection
After cleaning the C-clamp, inspect it for any signs of wear, damage, or rust. Check the threads, handle, screws, and jaws for cracks, chips, or deformation. Use a magnifying glass if necessary to detect any flaws. If you notice any issues, consider replacing the clamp or repairing it promptly to avoid further damage or safety hazards. If the clamp is in good condition, proceed to the next step.
Step 3: Lubrication
The next step in maintaining a C-clamp is to lubricate it to reduce friction and prevent corrosion. Apply a thin layer of lubricant such as WD-40 or silicone spray to the threads and jaws of the clamp, using a small brush or cloth. Make sure to spread the lubricant evenly and wipe off any excess with a clean cloth. Avoid using too much lubricant, as it may attract dust or debris and cause the clamp to slip. Repeat the lubrication process every few months, or as needed depending on the frequency of use and the environment.
Step 4: Storage
The way you store your C-clamp plays a vital role in its maintenance. After using the clamp, wipe it clean and dry, and store it in a clean, dry place away from direct sunlight, moisture, or heat. Avoid leaving the clamp exposed to the elements, as it may cause rust, corrosion, or deformation. Consider using a storage case or pouch to protect the clamp from scratches or bumps during transportation. If you have several clamps, label them according to their size or type to avoid confusion and save time when needed.
Step 5: Replacement
Finally, if your C-clamp shows signs of significant wear, damage, or malfunction, consider replacing it with a new one. A worn-out or faulty clamp may compromise your safety, damage your workpiece, or waste your time and effort. Make sure to choose a quality clamp that matches your needs and budget, and follow the manufacturer’s instructions for use and maintenance. With proper care and maintenance, your C-clamp can last for years and provide reliable performance for your projects.


