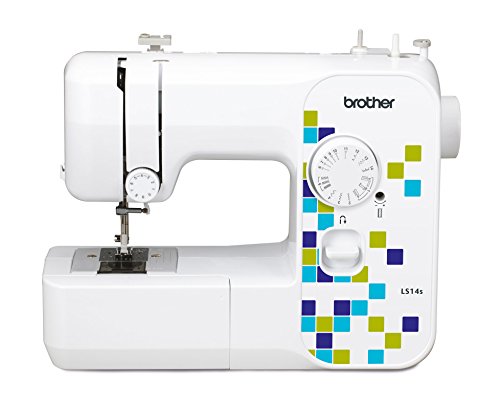
5 Steps to Clean Your Sewing Machine
If you use a sewing machine regularly, you know how important it is to keep it clean and well-maintained. A clean sewing machine not only improves the quality of your stitches but also extends the lifespan of the machine itself. Here are five steps to help you clean your sewing machine effectively.
Step 1: Gather Your Supplies
To clean your sewing machine, you will need a few essential supplies. These include a soft brush or small vacuum cleaner, lint-free cloth, sewing machine oil, and a screwdriver (if necessary). You may also need a manual specific to your machine to reference any unique cleaning instructions.
Step 2: Remove the Bobbin and Needle
The first step in cleaning your sewing machine is to remove the bobbin and needle. Unthread the machine, and carefully remove the bobbin case and needle. Place the bobbin case and needle aside for cleaning separately.
Step 3: Clean the Bobbin Case and Needle
Use a soft brush or a small vacuum cleaner to remove any dust, lint, or thread particles from the bobbin case and needle. Be gentle to avoid damaging these delicate parts of the machine. If necessary, refer to your machine’s manual for specific instructions on cleaning the bobbin case and needle.
Step 4: Clean the Machine Surface
Using a lint-free cloth, wipe down the entire surface of the machine, removing any dust or debris that has accumulated. Pay attention to the areas around the feed dogs, tension discs, and thread guides, as these are common areas where lint and thread can build up. If needed, use a small brush to reach into tight or hard-to-reach areas.
Step 5: Oil and Reassemble Your Machine
Finally, it’s time to oil and reassemble your sewing machine. Apply one or two drops of sewing machine oil to the specified lubrication points as indicated in your machine’s manual. Make sure to use oil specifically designed for sewing machines, as other oils can cause damage. Once oiled, reassemble the bobbin case and needle, ensuring they are properly aligned and inserted into the machine.
Now that your sewing machine is clean and reassembled, take a few moments to test it and ensure everything is working correctly. Thread the machine and sew a few stitches on a scrap piece of fabric to check for smooth operation and correct tension. If any issues arise, consult your machine’s manual or consider taking it to a professional for further inspection and maintenance.
Remember to clean your sewing machine regularly to keep it in optimal condition. Depending on the frequency of your use, you may want to clean your machine every few weeks or every month. By following these five steps and maintaining a routine cleaning schedule, you can ensure your sewing machine continues to perform at its best for years to come.