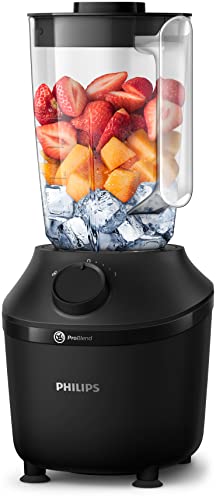
Start by disassembling the blender
When it comes to cleaning a blender, the first step is to disassemble the various parts. This typically includes removing the jug, lid, and blade assembly. By taking apart the blender, you will be able to clean each component thoroughly and remove any trapped food particles or residue.
Rinse the jug with warm water
After removing the blender jug, rinse it with warm water to remove any loose debris. For best results, fill the jug about halfway with warm water and swirl it around to dislodge any food particles stuck to the sides or bottom of the jug. Then, pour out the water and rinse the jug again to ensure all the loose debris is gone.
Clean the blade assembly with dish soap
Next, clean the blade assembly by using dish soap and warm water. You can do this by submerging the blade assembly in a sink filled with warm, soapy water and using a sponge or brush to scrub away any residue. Pay particular attention to the areas around the blades where food often gets trapped.
Use a brush to clean hard-to-reach areas
Some blender parts may have hard-to-reach areas that are difficult to clean with just a sponge or brush. In these cases, it is helpful to use a small, soft-bristled brush to scrub away any remaining residue. This can be particularly useful for cleaning the rubber gasket or seal that goes around the blender jug.
Allow all the components to air dry
Once you have thoroughly cleaned all the blender components, it is important to allow them to air dry before reassembling the blender. This helps prevent any potential bacteria growth or water spots. You can place the parts on a dish rack or towel to air dry naturally, or you can use a clean, dry cloth to dry them manually.


![Breville Blend Active Personal Blender & Smoothie Maker | 350W | 2 Portable Blend Active Bottles (600ml) | Leak Proof Lids | White & Pink [VBL248]](https://m.media-amazon.com/images/I/41DZiJdllQL.jpg)


