Gather all the necessary tools and materials
Before you start assembling your tool trolley, gather all the necessary tools and materials you will need for the job. This includes the tool trolley itself, a set of screwdrivers, a wrench, a hammer, and any other tools specified in the instructions.
Read the instruction manual carefully
Once you have gathered all the necessary tools and materials, it is important to read the instruction manual carefully before you begin assembling the tool trolley. The instruction manual will provide you with step-by-step guidance on how to assemble the trolley correctly. Make sure to follow the instructions closely to avoid any potential mistakes or problems.
Start by assembling the frame
The first step in assembling a tool trolley is to assemble the frame. Lay out all the pieces according to the instruction manual and begin by connecting the sides of the frame together. Make sure to tighten any screws or bolts securely to ensure the stability and durability of the trolley.
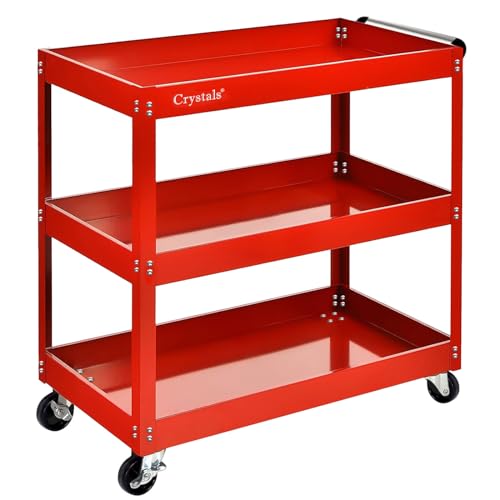
Attach the wheels and handles
Once the frame is assembled, the next step is to attach the wheels and handles. Depending on the design of your tool trolley, you may need to screw or bolt the wheels onto the bottom of the trolley. Make sure to follow the instructions provided to ensure the wheels are securely attached. Additionally, attach the handles to the top of the trolley, making sure they are firmly in place.
Organize your tools
After successfully assembling the tool trolley, it is time to organize your tools. Use the compartments and drawers provided in the trolley to store your tools in an organized and accessible manner. This will make it easier for you to find the tools you need when working on a project and help keep your workspace tidy and efficient.