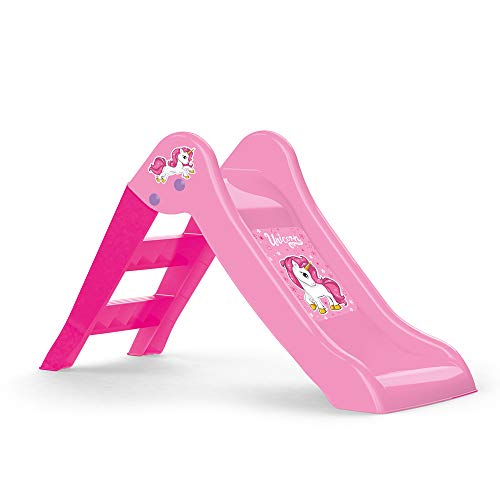
Step-by-Step Guide on How to Assemble a Baby Slide
If you’re looking to acquire a baby slide for your little one, it’s necessary to know how to assemble it. A baby slide is an excellent toy for children, as it helps with their balance and coordination. It’s simple to assemble one and can be done in a few easy steps.
Gather the Required Tools and Materials
To begin, gather all of the necessary tools and materials. You’ll require the following items: screws, bolts, a screwdriver, and adjustable wrenches. Make sure they’re all on hand before you begin the assembly process.
Follow the Instruction Manual Carefully
Read the instruction manual provided to you by the manufacturer. It’s essential to follow the instructions carefully to ensure that you build it correctly. Make sure you pay attention to the warnings and cautions. It will assist you in avoiding any potential dangers during the assembly process.
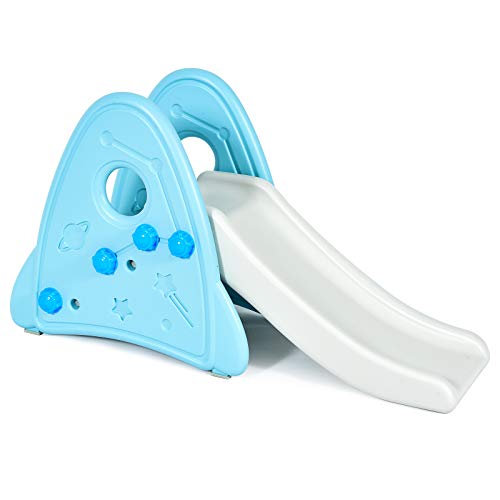
Create the Platform and Attach the Slide
Begin by assembling the platform that will hold the slide. Depending on your baby slide design, you may need to attach the legs first or attach the platform to the legs. Once the platform is assembled and in place, you may proceed to the next step, which is attaching the slide.
Note the location of the bolts that secure the slide in place when attaching it. You must assemble and tighten these bolts correctly to ensure your baby’s safety.
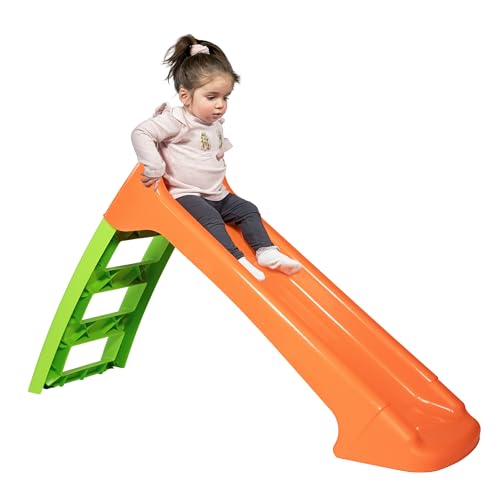
Test the Structure
After the slide assembly is finished, double-check that everything is secure and tighten any loose ends. Perform a test to check whether the slide is functional and that your child may safely slide down it.
To conclude, assembling a baby slide isn’t complex, and you can easily do it on your own. Make sure you follow the manufacturer’s instructions carefully to ensure that you build it safely and correctly. With a little effort and time, you can create a toy that your child will enjoy playtime and again.