Importance of Regular Caulk Replacement in a Bathroom
Keeping your bathroom in good condition involves regular maintenance, which includes replacing caulk. Caulk is a flexible material that seals gaps and prevents water leakage around the edges of fixtures, such as sinks, bathtubs, and showers. Over time, caulk can deteriorate, become discolored, or develop mold and mildew. Therefore, it is important to know how often you should replace caulk in a bathroom to maintain its functionality and aesthetics.
Signs that Indicate It’s Time to Replace Caulk
There are several signs that indicate it’s time to replace the caulk in your bathroom. Firstly, if you notice cracks or gaps in the caulk, it is a clear indication that it needs to be replaced. Additionally, if the caulk has turned yellow, brown, or black in color, it is a sign of mold or mildew growth. This not only affects the appearance of your bathroom but also poses a health risk. Another sign to look out for is water leakage or damage around the edges of fixtures. If you notice any of these signs, it is time to replace the caulk.
Factors that Influence Caulk Lifespan
The lifespan of caulk in a bathroom can vary depending on several factors. Firstly, the quality of the caulk used and the application technique can make a difference. Higher quality caulk that is properly applied is likely to last longer. Secondly, the level of humidity in the bathroom can affect caulk lifespan. Bathrooms with excessive moisture are prone to mold and mildew growth, which can deteriorate the caulk quickly. The frequency and intensity of use also play a role. Bathrooms that are used daily and experience heavy traffic may need caulk replacement more frequently than less used bathrooms.
How Often to Replace Caulk in a Bathroom?
While there is no set timeframe for caulk replacement in a bathroom, a general guideline is to inspect and replace caulk every 1-2 years. Regular inspections can help identify any signs of deterioration or damage early on, allowing for timely replacement. However, bathrooms with higher humidity levels or those that are heavily used may require more frequent caulk replacement. It is also a good practice to replace caulk if any signs of damage or deterioration are noticed, regardless of the time elapsed since the last replacement.
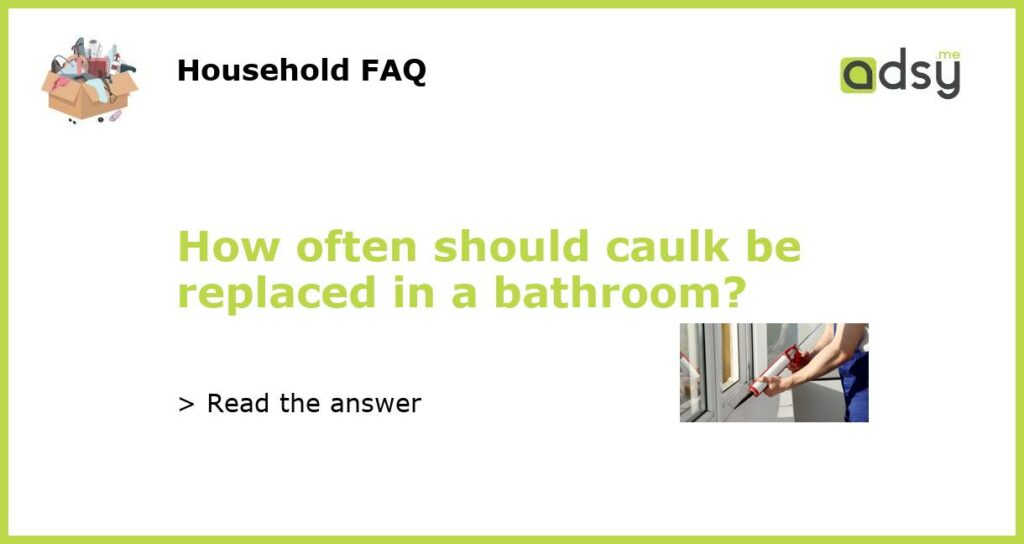
Steps to Replace Caulk in a Bathroom
If you notice that it is time to replace the caulk in your bathroom, here are the steps to follow:
1. Prepare the area: Remove any old caulk using a caulk remover tool and clean the surface thoroughly to ensure proper adhesion of the new caulk.
2. Choose the right caulk: Select a high-quality caulk that is specifically designed for bathrooms to ensure durability and resistance to moisture.
3. Apply the caulk: Use a caulk gun to apply an even bead of caulk along the edges of fixtures, making sure to fill any gaps or cracks. Smooth the caulk with a caulking tool or your finger for a neat finish.
4. Allow drying time: Let the caulk dry according to the manufacturer’s instructions before using the fixtures or exposing them to water.
By following these steps and adhering to a regular caulk replacement schedule, you can ensure that your bathroom remains clean, dry, and free from water leakage.