What is a seam ripper?
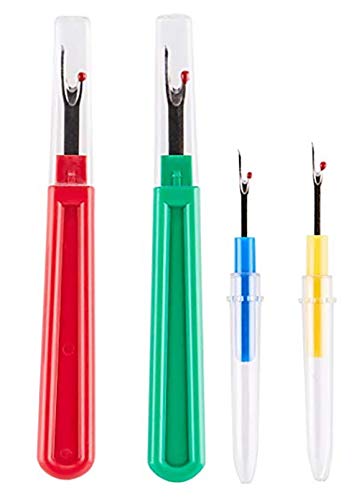
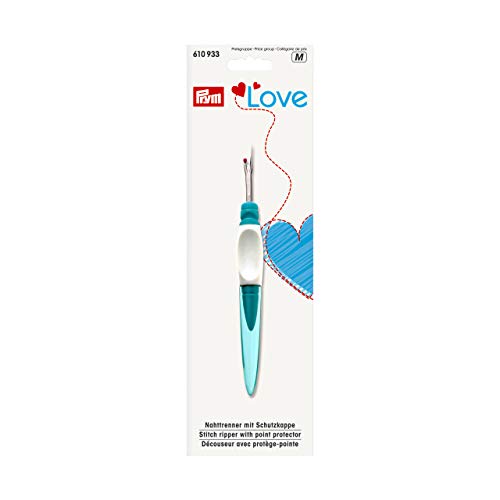
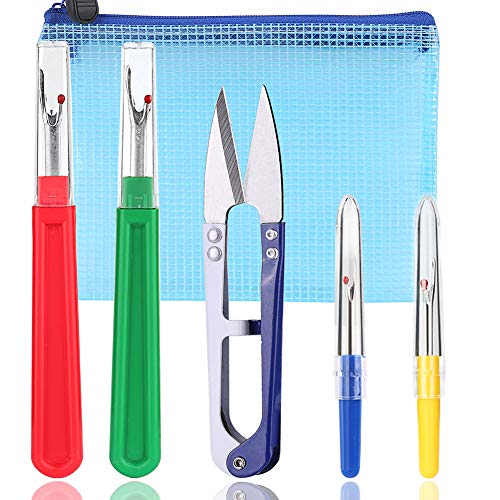
A seam ripper is a small, handheld tool that is used to remove unwanted stitches from fabric. It typically consists of a handle and a sharp, pointed blade that can easily slide under stitches and cut them without damaging the fabric. Seam rippers are commonly used in sewing and dressmaking projects to correct mistakes or remove seams.
Step-by-step guide on using a seam ripper
Using a seam ripper may seem intimidating at first, but with the right technique, it can become an essential tool in your sewing kit. Here is a step-by-step guide on how to use a seam ripper:
Step 1: Identify the stitches you want to remove. Look for the thread that runs along the seam line.
Step 2: Gently slide the pointed end of the seam ripper under one stitch. Be careful not to damage the fabric.
Step 3: With slight pressure, push the blade of the seam ripper against the stitch until the thread is cut. Be cautious not to cut too deep or snag the fabric.
Step 4: Continue sliding the seam ripper under each stitch along the seam, cutting them one by one. Take your time and be precise to avoid any accidental fabric tears.
Step 5: Once all the stitches have been cut, gently pull the thread ends to remove them. Use tweezers if necessary.
Step 6: If there are any leftover bits of thread or loose fabric, use the pointed end of the seam ripper to remove them.
Tips for using a seam ripper effectively
Using a seam ripper effectively requires some practice and a few additional tips. Here are a few recommendations to help you use a seam ripper more efficiently:
– Hold the fabric taut while using the seam ripper. This will make it easier to slide the tool under the stitches and cut them.
– Be gentle with the seam ripper. It’s a sharp tool, but excessive force can lead to accidents and damage to the fabric.
– Take breaks if needed. Seam ripping can be time-consuming and mentally tiring. Take breaks to rest your eyes and hands.
– Invest in a good quality seam ripper. Cheaper options may not be as sharp or durable, making the process more difficult and frustrating.
– Practice on scrap fabric before using the seam ripper on your intended project. This will help you gain confidence and improve your technique.
How to maintain a seam ripper
To ensure the longevity of your seam ripper and keep it in optimal condition, regular maintenance is crucial. Here are some tips for maintaining your seam ripper:
– Clean your seam ripper after each use. Use a soft cloth or brush to remove any lint or fabric residue.
– Keep the blade sharp. If your seam ripper becomes dull, it may not effectively cut through stitches. Sharpen the blade using a sharpener specifically designed for seam rippers or carefully file it.
– Store the seam ripper safely. Keep it in a protective case or sheath to prevent accidental injury and to avoid damage to the blade.
– Avoid using the seam ripper for purposes other than removing stitches. Using it to pry open cans or for other non-sewing tasks can damage the blade and decrease its effectiveness.
Alternative uses for a seam ripper
While a seam ripper is primarily used for removing stitches, it can also be handy for other non-sewing tasks. Here are a few alternative uses for a seam ripper:
– Opening packages: Use the pointed end of the seam ripper to slice through tape or break open packaging.
– Untangling knots: The fine point of a seam ripper can help untangle small knots in jewelry or in thread.
– Removing labels and tags: Seam rippers can be used to carefully and cleanly remove labels and tags from clothing or other items.
– Cleaning small crevices: The sharp blade of a seam ripper can be useful for cleaning hard-to-reach areas in small crevices or corners.
While using a seam ripper, it’s essential to exercise caution and be mindful of the sharp blade. With practice, you’ll become more confident in using a seam ripper effectively for your sewing projects.