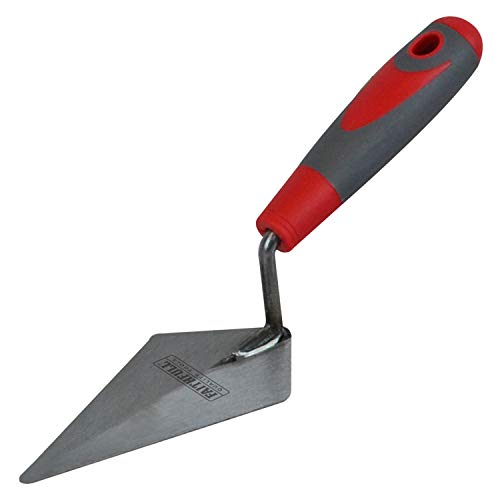
Notched Trowel: A Handy Tool for Tile Installation
A notched trowel is an essential tool in tile installation projects. It is used to spread adhesive or mortar evenly on the surface before placing tiles. This type of trowel has a flat metal blade with notches on one side, which help create evenly spaced ridges of adhesive on the surface. Using a notched trowel properly ensures proper adhesion and uniformity in the tile installation process. Here’s how you can use a notched trowel effectively.
Step 1: Select the Right Notched Trowel for the Job
Notched trowels come in various sizes, with different notch sizes and shapes. The size of the notch determines the amount of adhesive or mortar it will spread, while the shape affects the pattern formed on the surface. To choose the right notched trowel, consider the tile size and type, as well as the substrate you are working on. Larger tiles usually require larger notches, while smaller tiles work best with smaller notches. The recommended trowel size is usually indicated by the tile manufacturer or adhesive manufacturer.
Step 2: Prepare the Surface
Before using a notched trowel, prepare the surface by ensuring it is clean and free from any debris. Remove any existing tiles or old adhesive, and make sure the surface is flat and level. If necessary, use a leveling compound or patching material to correct any unevenness. Allow the surface to dry completely before proceeding with tile installation.
Step 3: Apply Adhesive or Mortar
Start by mixing the adhesive or mortar according to the manufacturer’s instructions. Use a trowel or mixing paddle to achieve a smooth and lump-free consistency. Then, scoop an appropriate amount of adhesive or mortar onto the flat side of the notched trowel. Hold the trowel at a slight angle (around 45 degrees) and press it firmly against the surface.
Step 4: Spread the Adhesive or Mortar
With the notched side of the trowel facing downward, begin spreading the adhesive or mortar evenly on the surface. Apply pressure and move the trowel in a sweeping motion to create ridges. The ridges allow for better adhesion and help ensure the tiles are evenly placed. Work in small areas to prevent the adhesive or mortar from drying before you can lay the tiles.
Step 5: Install the Tiles
Once the adhesive or mortar is applied, carefully place the tiles onto the surface, pressing them gently into the adhesive. Wiggle them slightly to ensure proper contact and adhesion. Use tile spacers to maintain consistent spacing between tiles. Continue the process, spreading adhesive and installing tiles in small sections until the entire surface is covered. Regularly check for levelness and make adjustments as needed.


