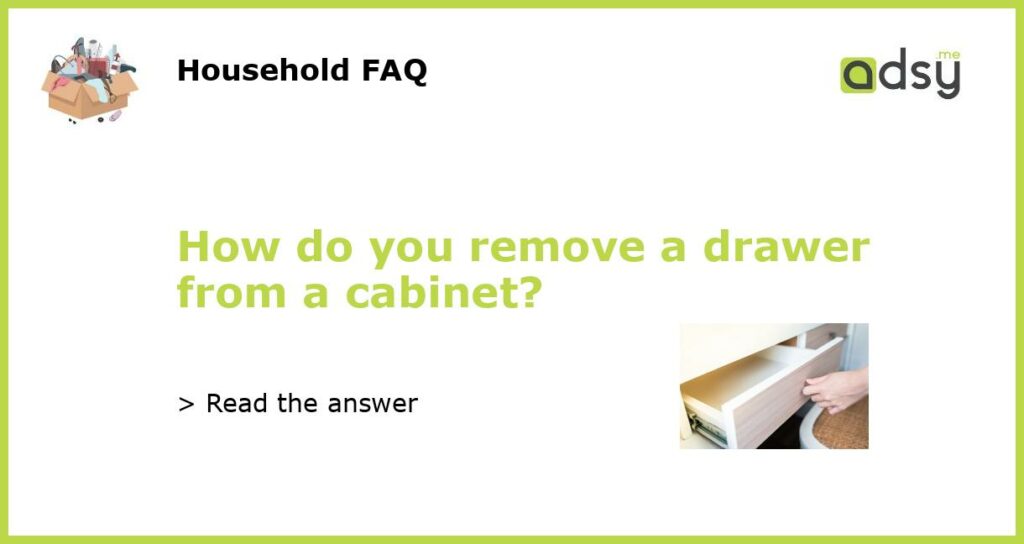
Step-by-Step Guide to Removing a Drawer from a Cabinet
Removing a drawer from a cabinet may seem like a simple task, but it can sometimes be a bit tricky if you’re not sure how to do it properly. Whether you need to clean the drawer, repair it, or simply want to rearrange your cabinet, knowing the right steps can make the process much easier. Here’s a step-by-step guide to help you remove a drawer from a cabinet:
Empty the Drawer and Clear the Surrounding Area
The first step is to empty the drawer completely. Remove all the items and set them aside in a safe place. This will make it easier to handle the drawer and prevent any belongings from getting damaged. Additionally, clear the area around the cabinet to provide yourself with enough space to work comfortably.
Examine the Drawer and Cabinet Mechanism
Take a moment to examine the drawer and the mechanism that holds it in place. Most drawers are attached to the cabinet through slides or wheels. Slides are metal tracks that allow the drawer to open and close smoothly, while wheels can be found on the bottom of the drawer and glide along a rail. Understanding how the drawer is connected will help you remove it more effectively.
Remove Slides or Wheels
If your drawer has slides, you’ll need to remove them before taking out the drawer. Slides typically have two parts: one attached to the drawer itself and one attached to the cabinet. To remove the drawer, you’ll need to disconnect these parts. Look for any release levers or screws that hold the slides in place. Once you’ve located them, carefully release or remove them to disengage the slides.
If your drawer is connected using wheels, you’ll need to look for a lever or latch that holds the wheels in place. Engaging the lever or releasing the latch will allow you to remove the drawer by lifting it up and out of the cabinet.
Lift and Remove the Drawer
Now that you’ve disconnected the slides or wheels, it’s time to remove the drawer. Gently lift the front part of the drawer and pull it towards you, keeping it level as you do so. If the drawer is heavy or stuck, you may need to wiggle it slightly or use a bit of force. Be careful not to tilt the drawer too much, as it may cause it to fall out or damage the cabinet.
Clean or Repair the Drawer and Cabinet
After successfully removing the drawer, you can proceed with cleaning or repairing it, if needed. Wipe down the interior and exterior of the drawer and remove any dust or debris. If there are any broken or damaged parts, assess whether you can fix them or if they need to be replaced. Similarly, take the opportunity to clean the cabinet and make any necessary adjustments before reinserting the drawer.
Removing a drawer from a cabinet is a fairly straightforward process once you know what to do. By following these steps, you’ll be able to safely and effectively remove a drawer without causing any damage. Remember to take your time and be cautious, especially when lifting or handling heavy drawers.


